

Manual Charging
Start or stop charging manually when a Burro is already seated at its dock. This is useful for testing, for on-site recovery after a docking attempt, or when you want to charge outside of an automated schedule.
Prerequisites
Dock hardware powered on: transmitter power switch ON and charger selector set to Dock (LEDs blink green with power, solid green while charging).
Robot software 6.13+ and speed slider ≤ 1.2 m/s.
You must be in the Harvest Assist UI. Go to: Settings → Tap Manage Profiles & Add On → Go to Main Screen tab → Select Harvest Assist.
Steps
Position & align at the dock
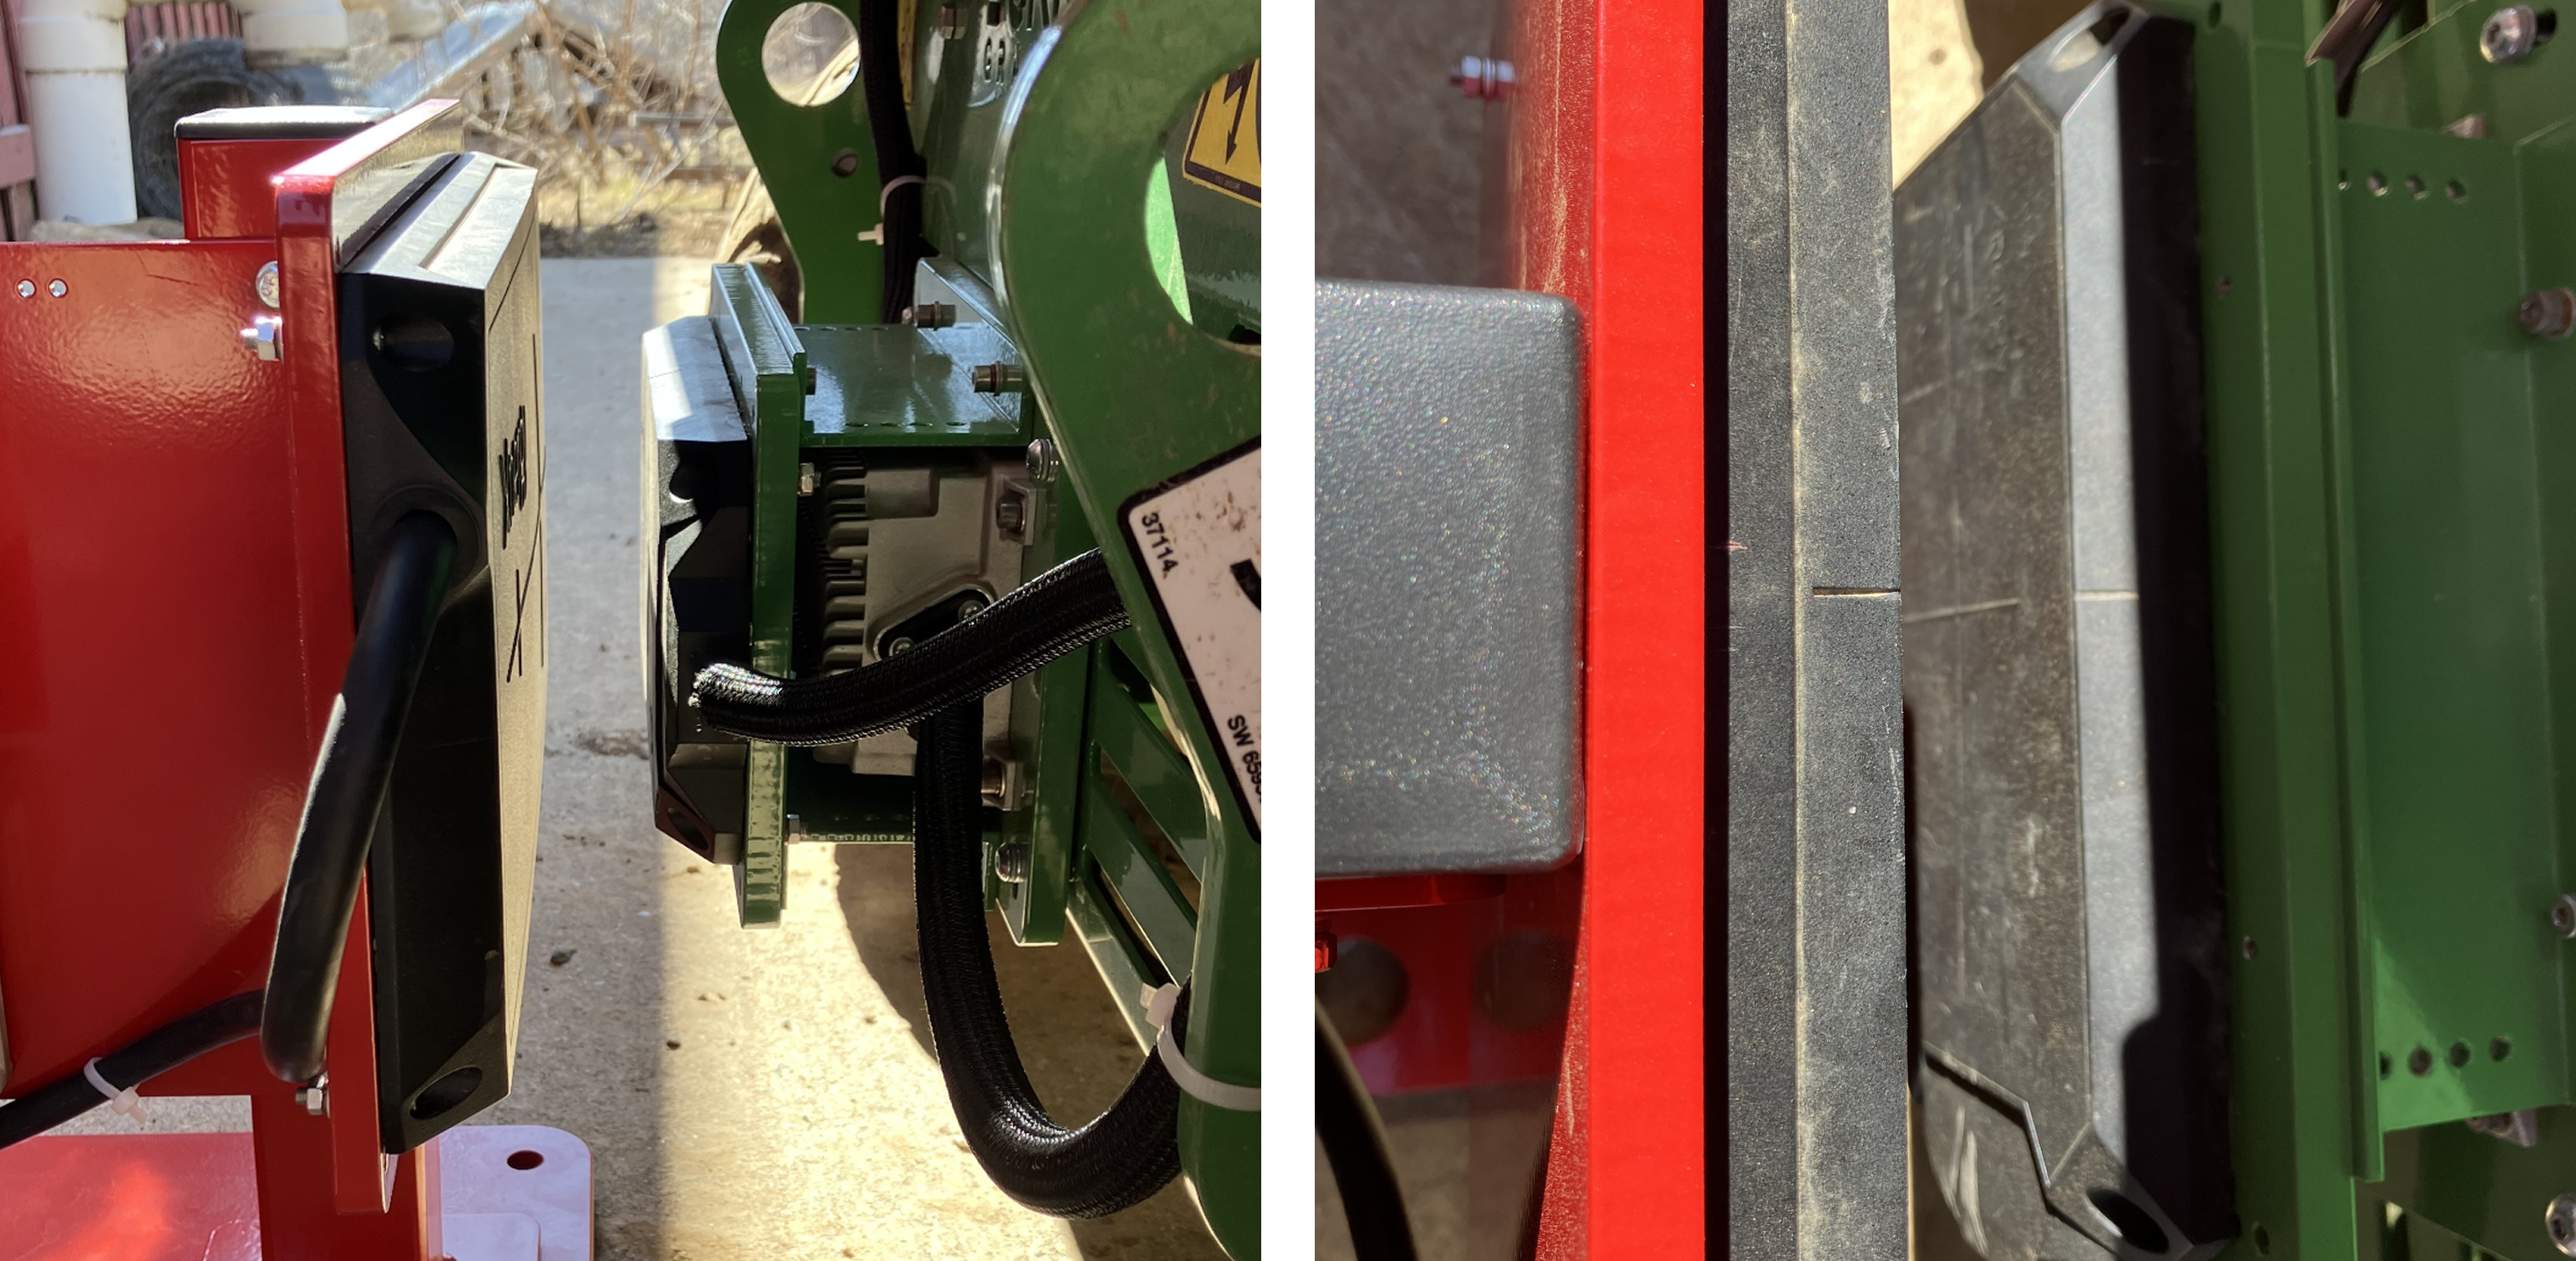
Drive the Burro to the dock; use the remote or Manual mode to precisely align the charging pad with the dock pad.
Align the hash marks on the sides of the pads within 0.5 cm vertically. (Both the receiver and transmitter pads can be adjusted vertically using the mounting holes.)
Set the pad spacing to 3.5 cm ± 0.5 cm.
Use the centerlines on the top and side of the pads to guide alignment. If alignment is off, charging will not start.
Enable Docking Settings (if not already on)
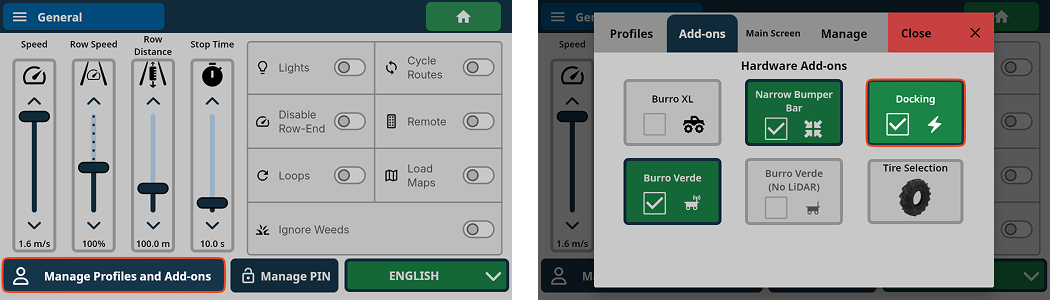
Go to: Steps → Settings → Manage Add-ons → Add-ons → Docking Settings and turn it On.
Open Docking Settings
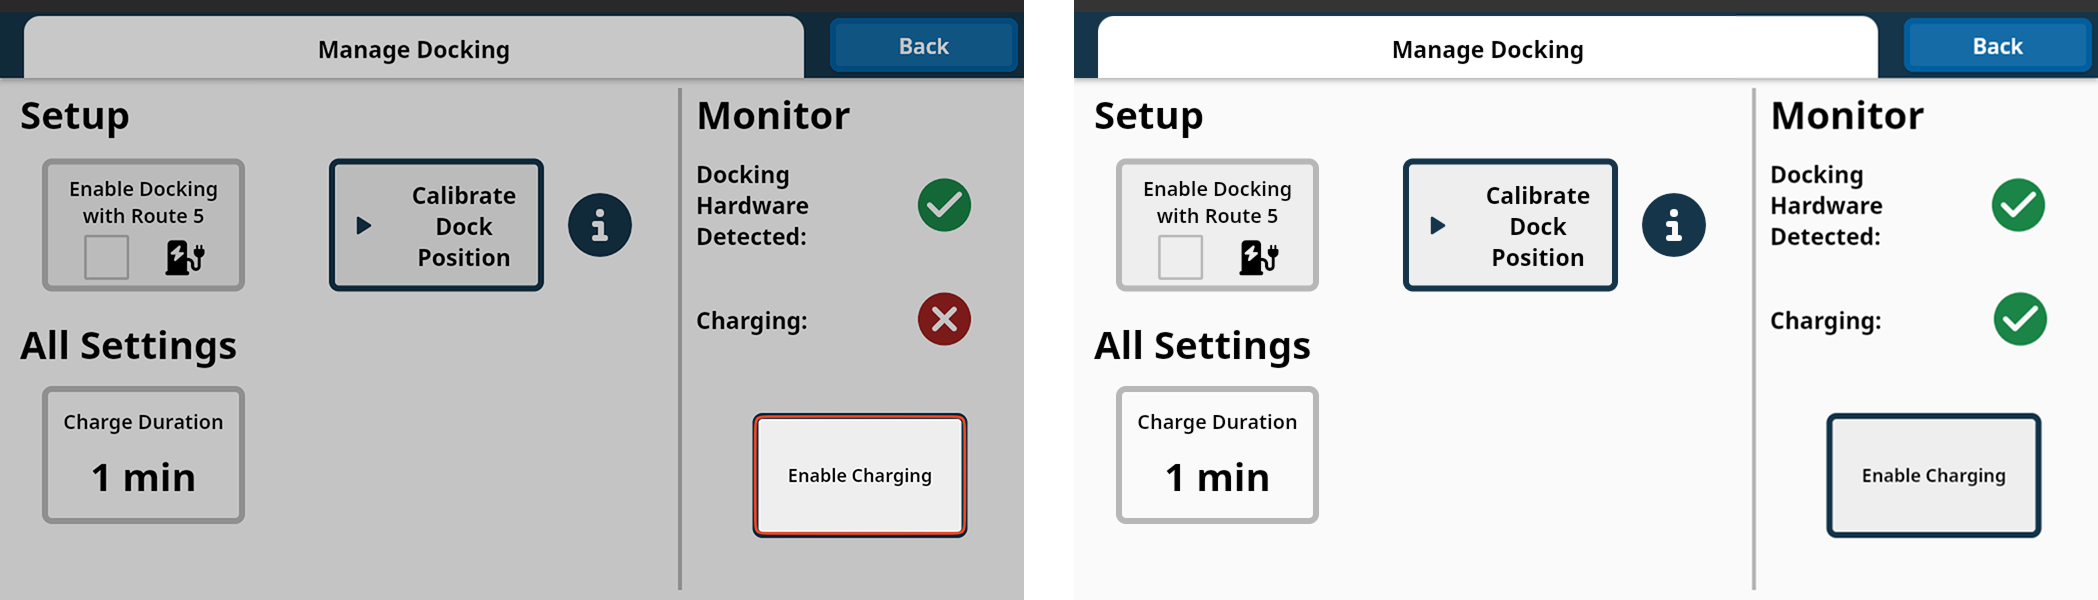
From Home, tap the Burro icon (top) → Docking Settings.
If pads are aligned, Docking Hardware Detected should be green. If not, ensure the pads are properly aligned,

Start/stop charging
Tap Enable Charging and confirm Charging shows ✅ (green).
To stop, tap Disable Charging; Charging shows ❌ (red).
While charging, the manual drive and the remote are disabled. Controls are restored automatically when charging is disabled.
Safety
Don’t attempt to move the robot while charging is enabled.
Notes & Troubleshooting
Charging flips green → red after a few seconds
Likely pad misalignment or intermittent contact. Reseat the robot, then try Enable Charging again. If it persists, run Calibrate Dock Position and retry.Docking hardware not detected (❌)
Charging cannot start. Check connectors/cables and reseat on the dock until Docking Hardware Detected shows ✅.Related controls on this screen do not impact manually charging.
Safety
Don’t attempt to move the robot while charging is enabled.
Charging via Wall Outlet
The robot can be charged either wirelessly or via wall outlet when the wireless docking hardware is installed.
To charge via wall outlet:
Flip the charge selector switch on the front of the robot (Above and to the left of the Wireless Charge Pad) to “Wired”
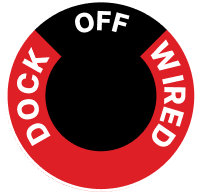
Charge Selector Switch Sticker Ensure the robot is not wirelessly charging
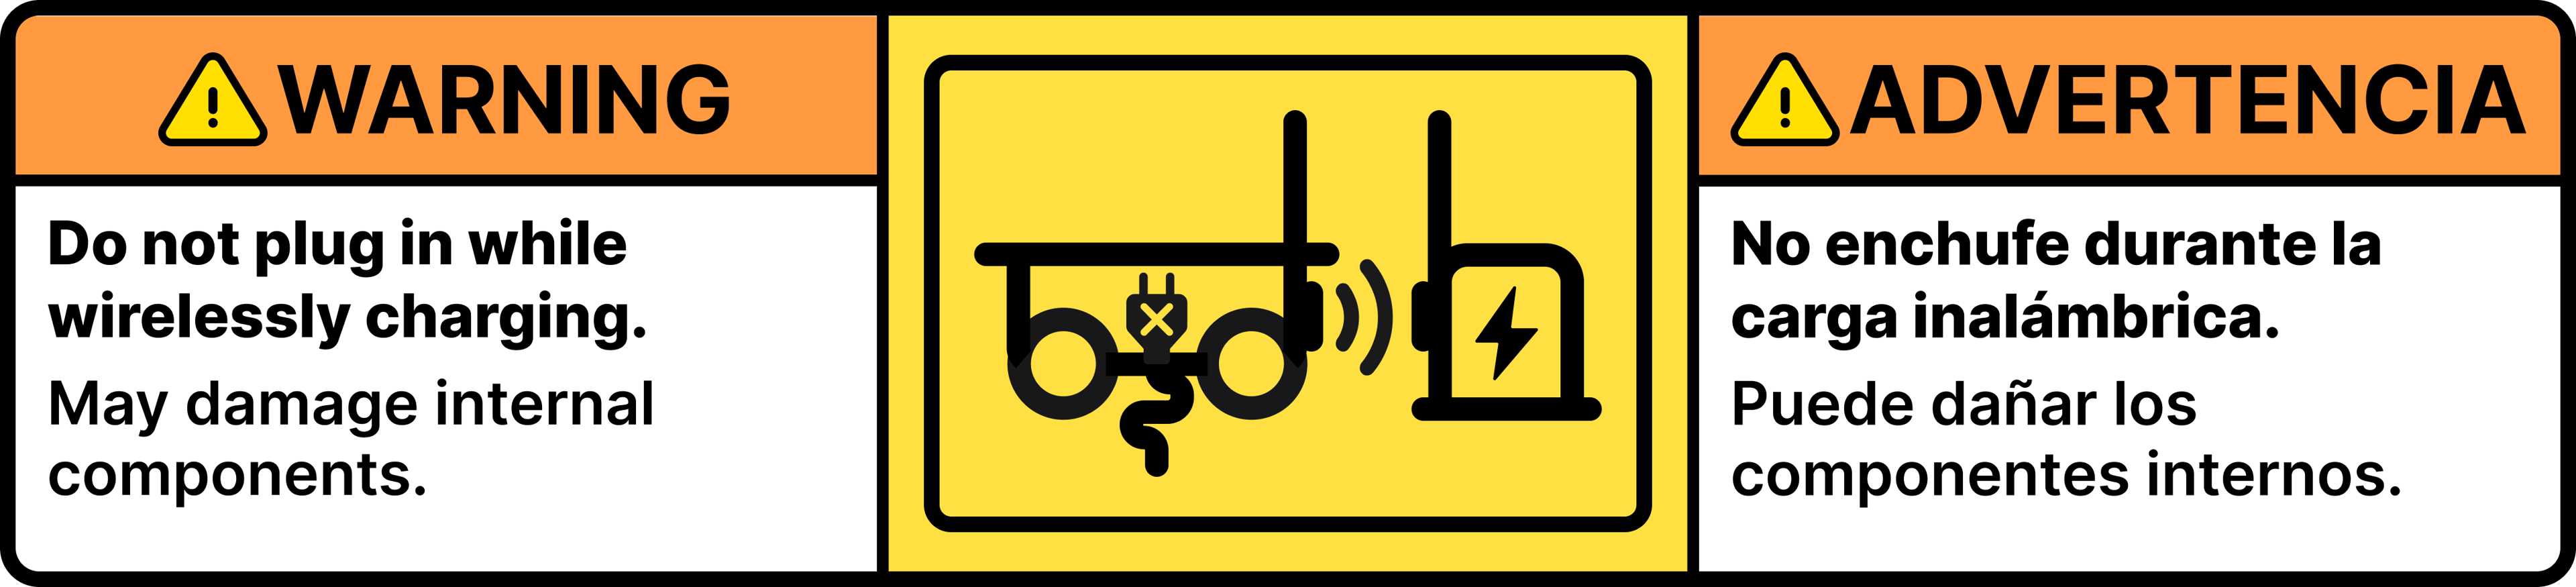
Plug in the AC power to the robot’s charge port