
Usage Instructions
Powering on the RTK Torch
Hold the power button for about 3 seconds.
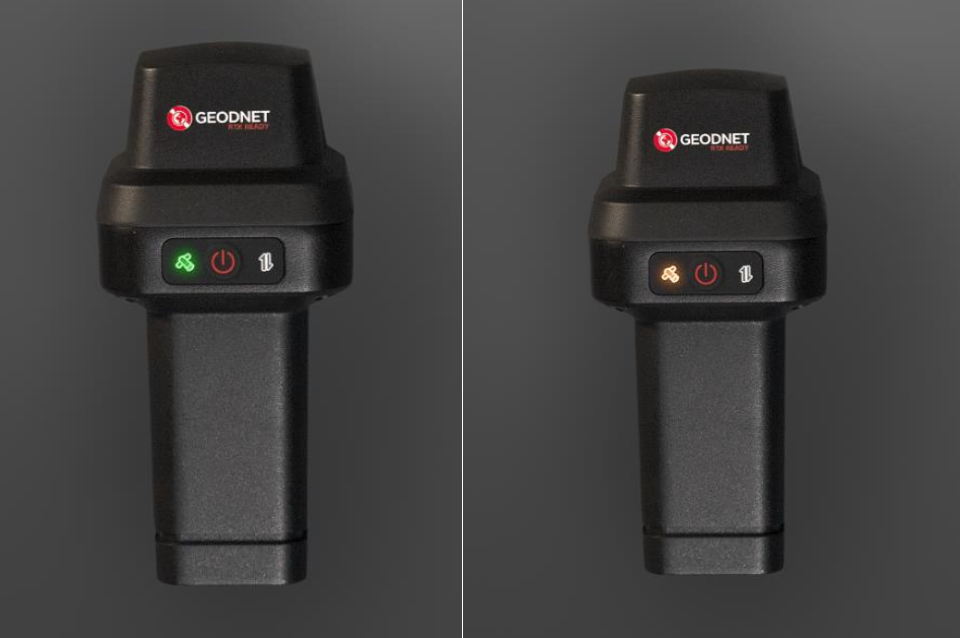
The icon on the left will light up green and then transition to a solid orange, indicating that the device is powered on and ready. In addition, you will hear two beeps.
Setup the GEO-MEASURE App
Download the app from your device’s app store
Connect your phone to the RTK Torch
Open the GEO-MEASURE App
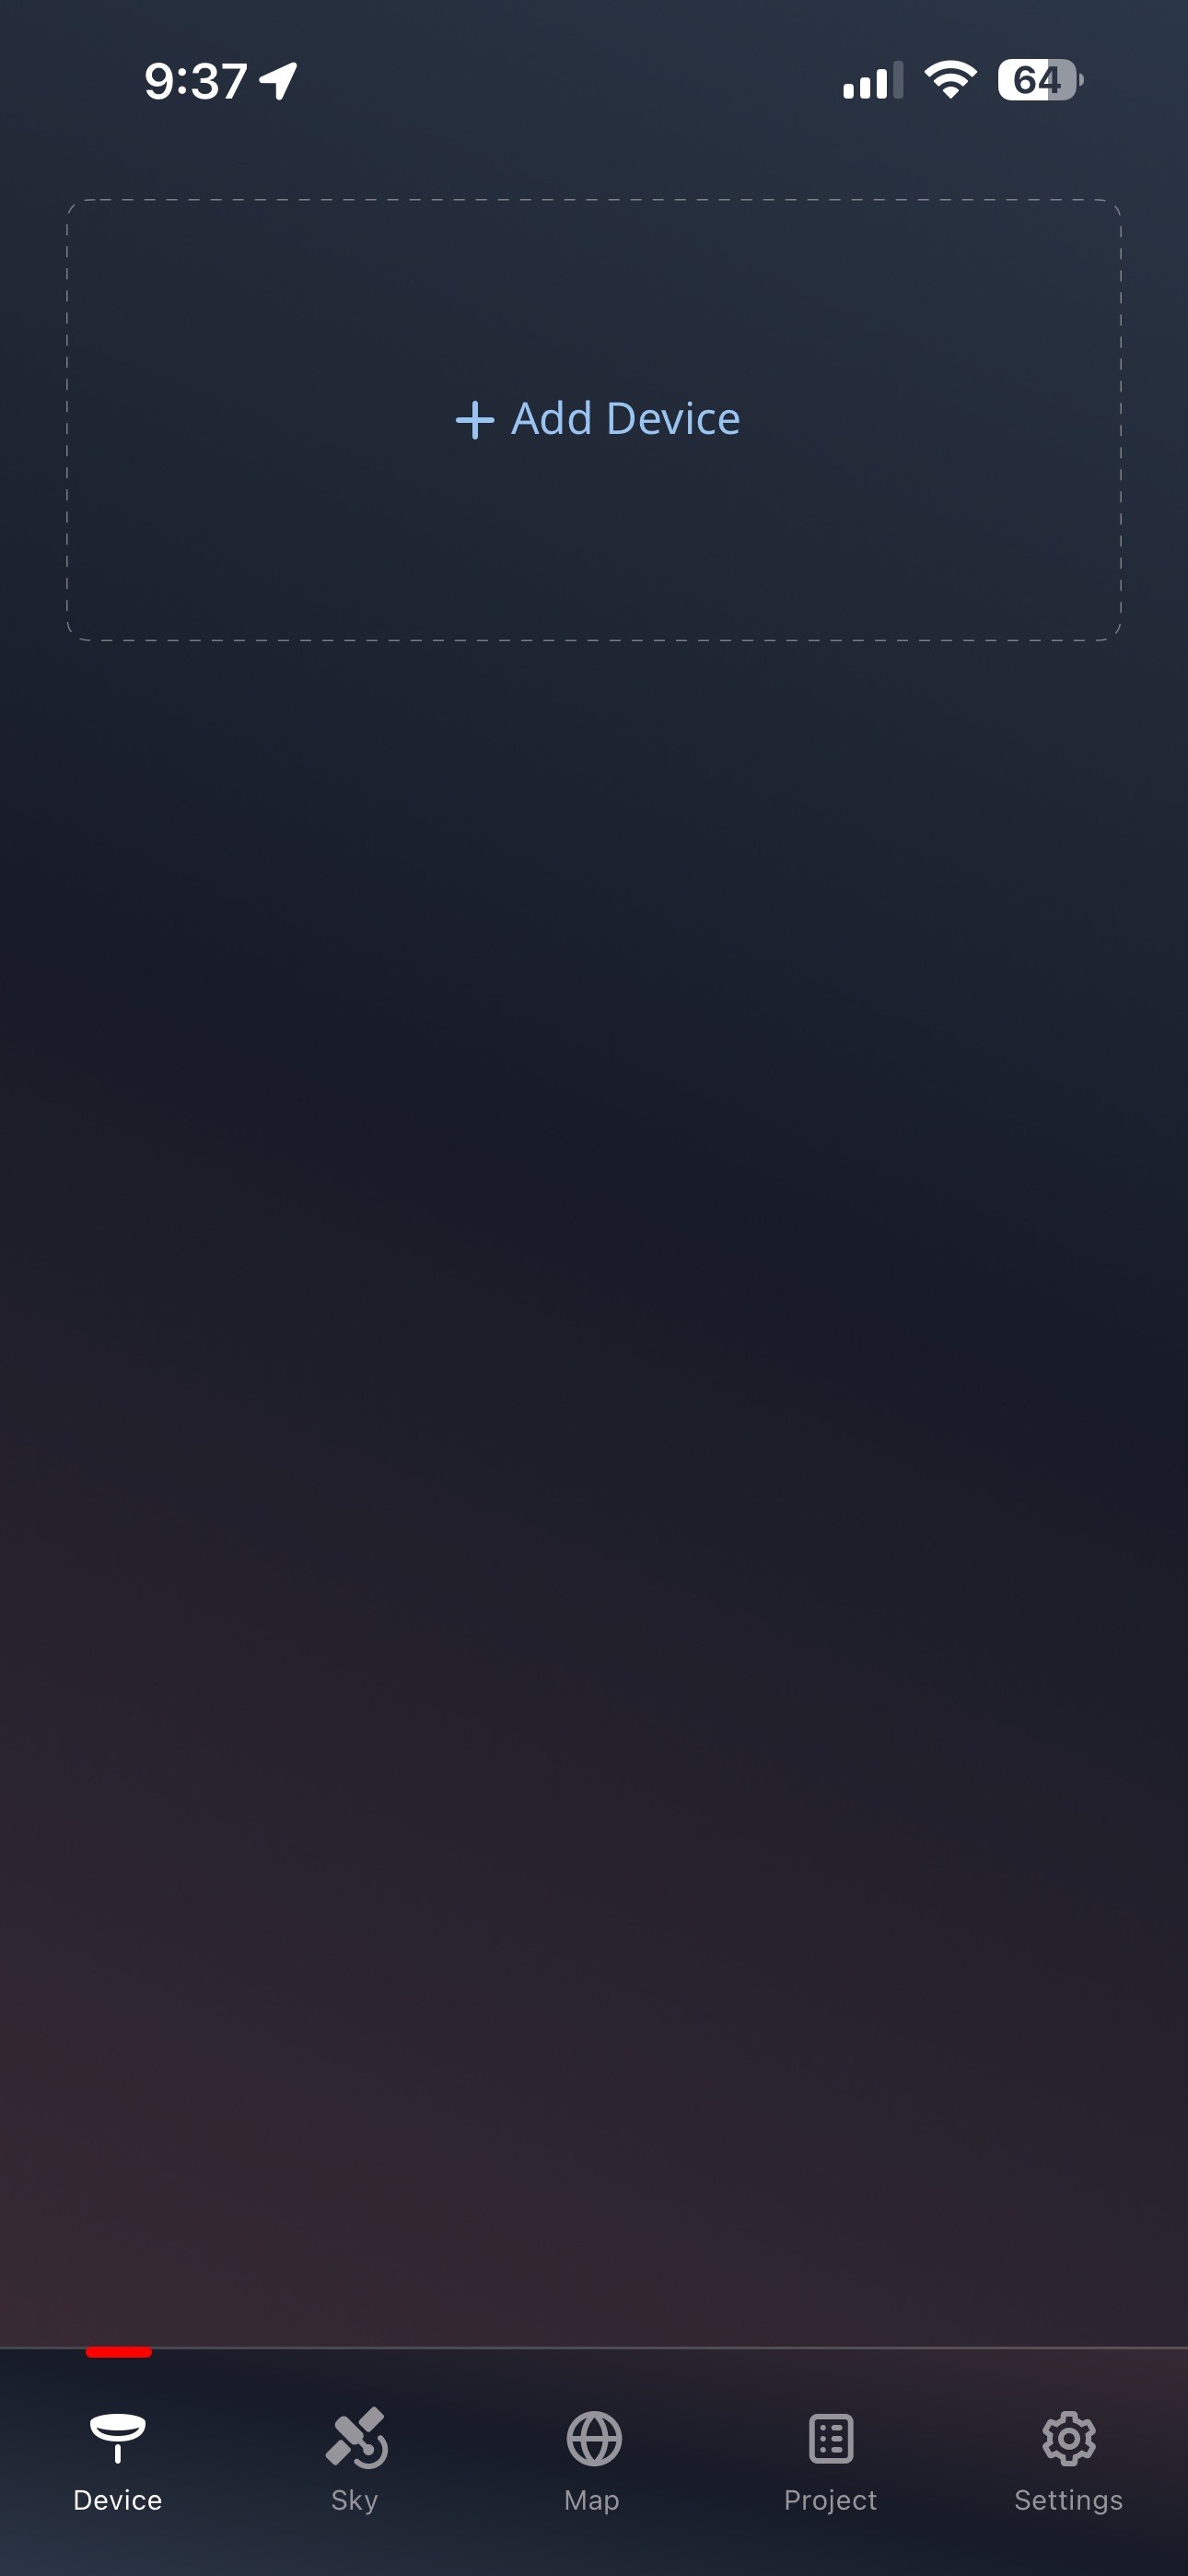
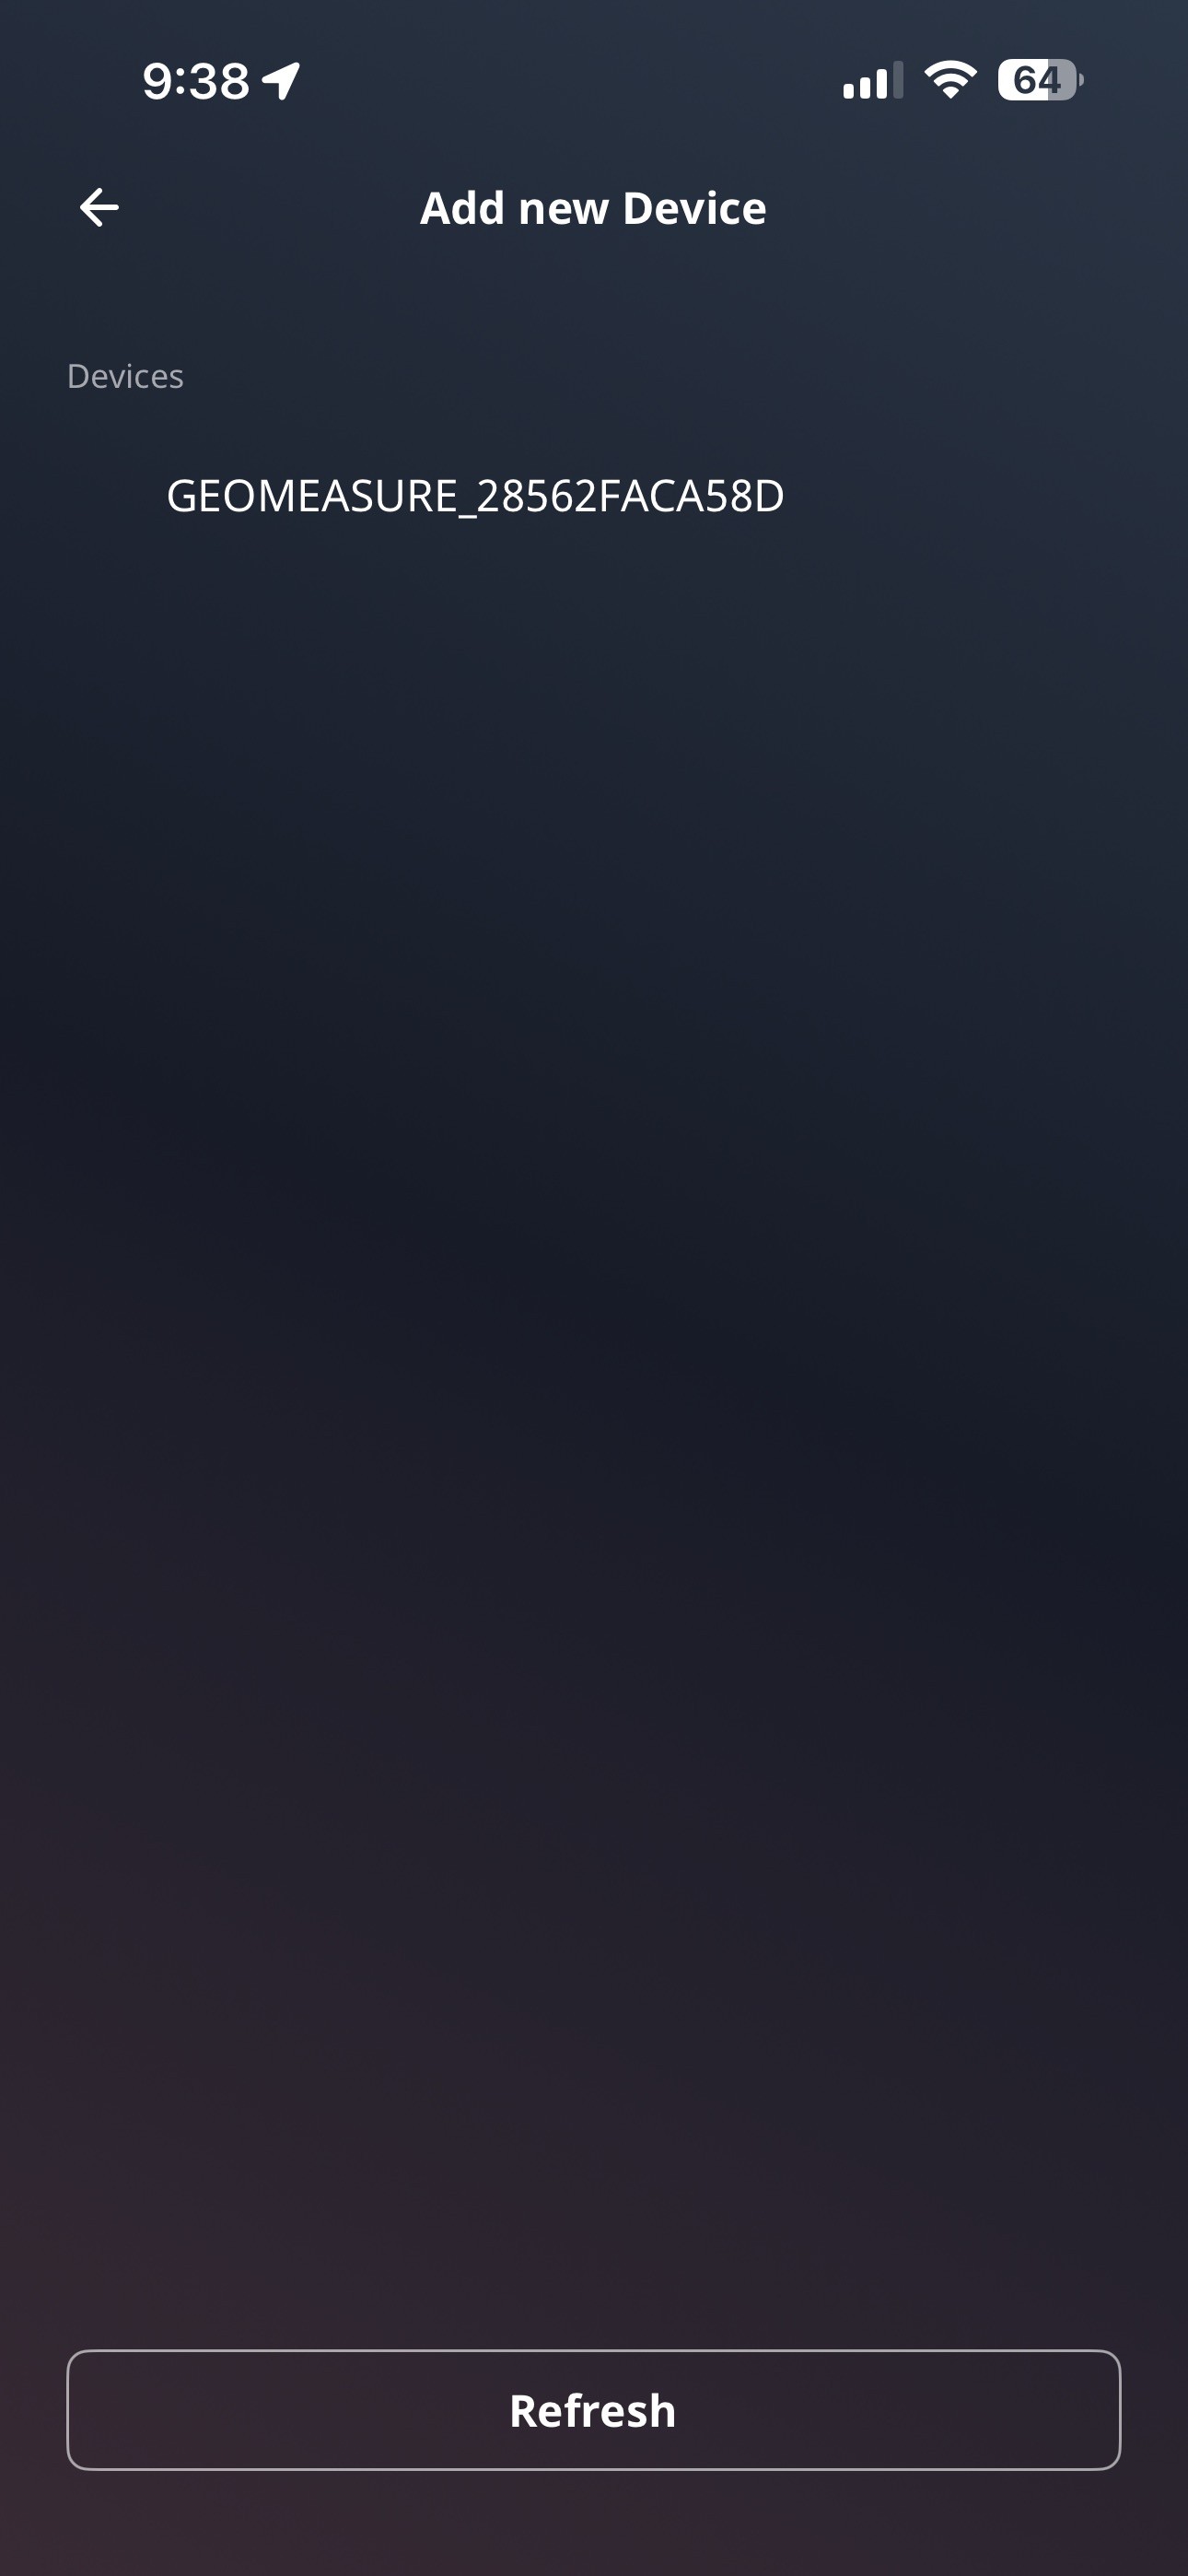
Turn on the RTK Torch and select “Add Device”, then select your device
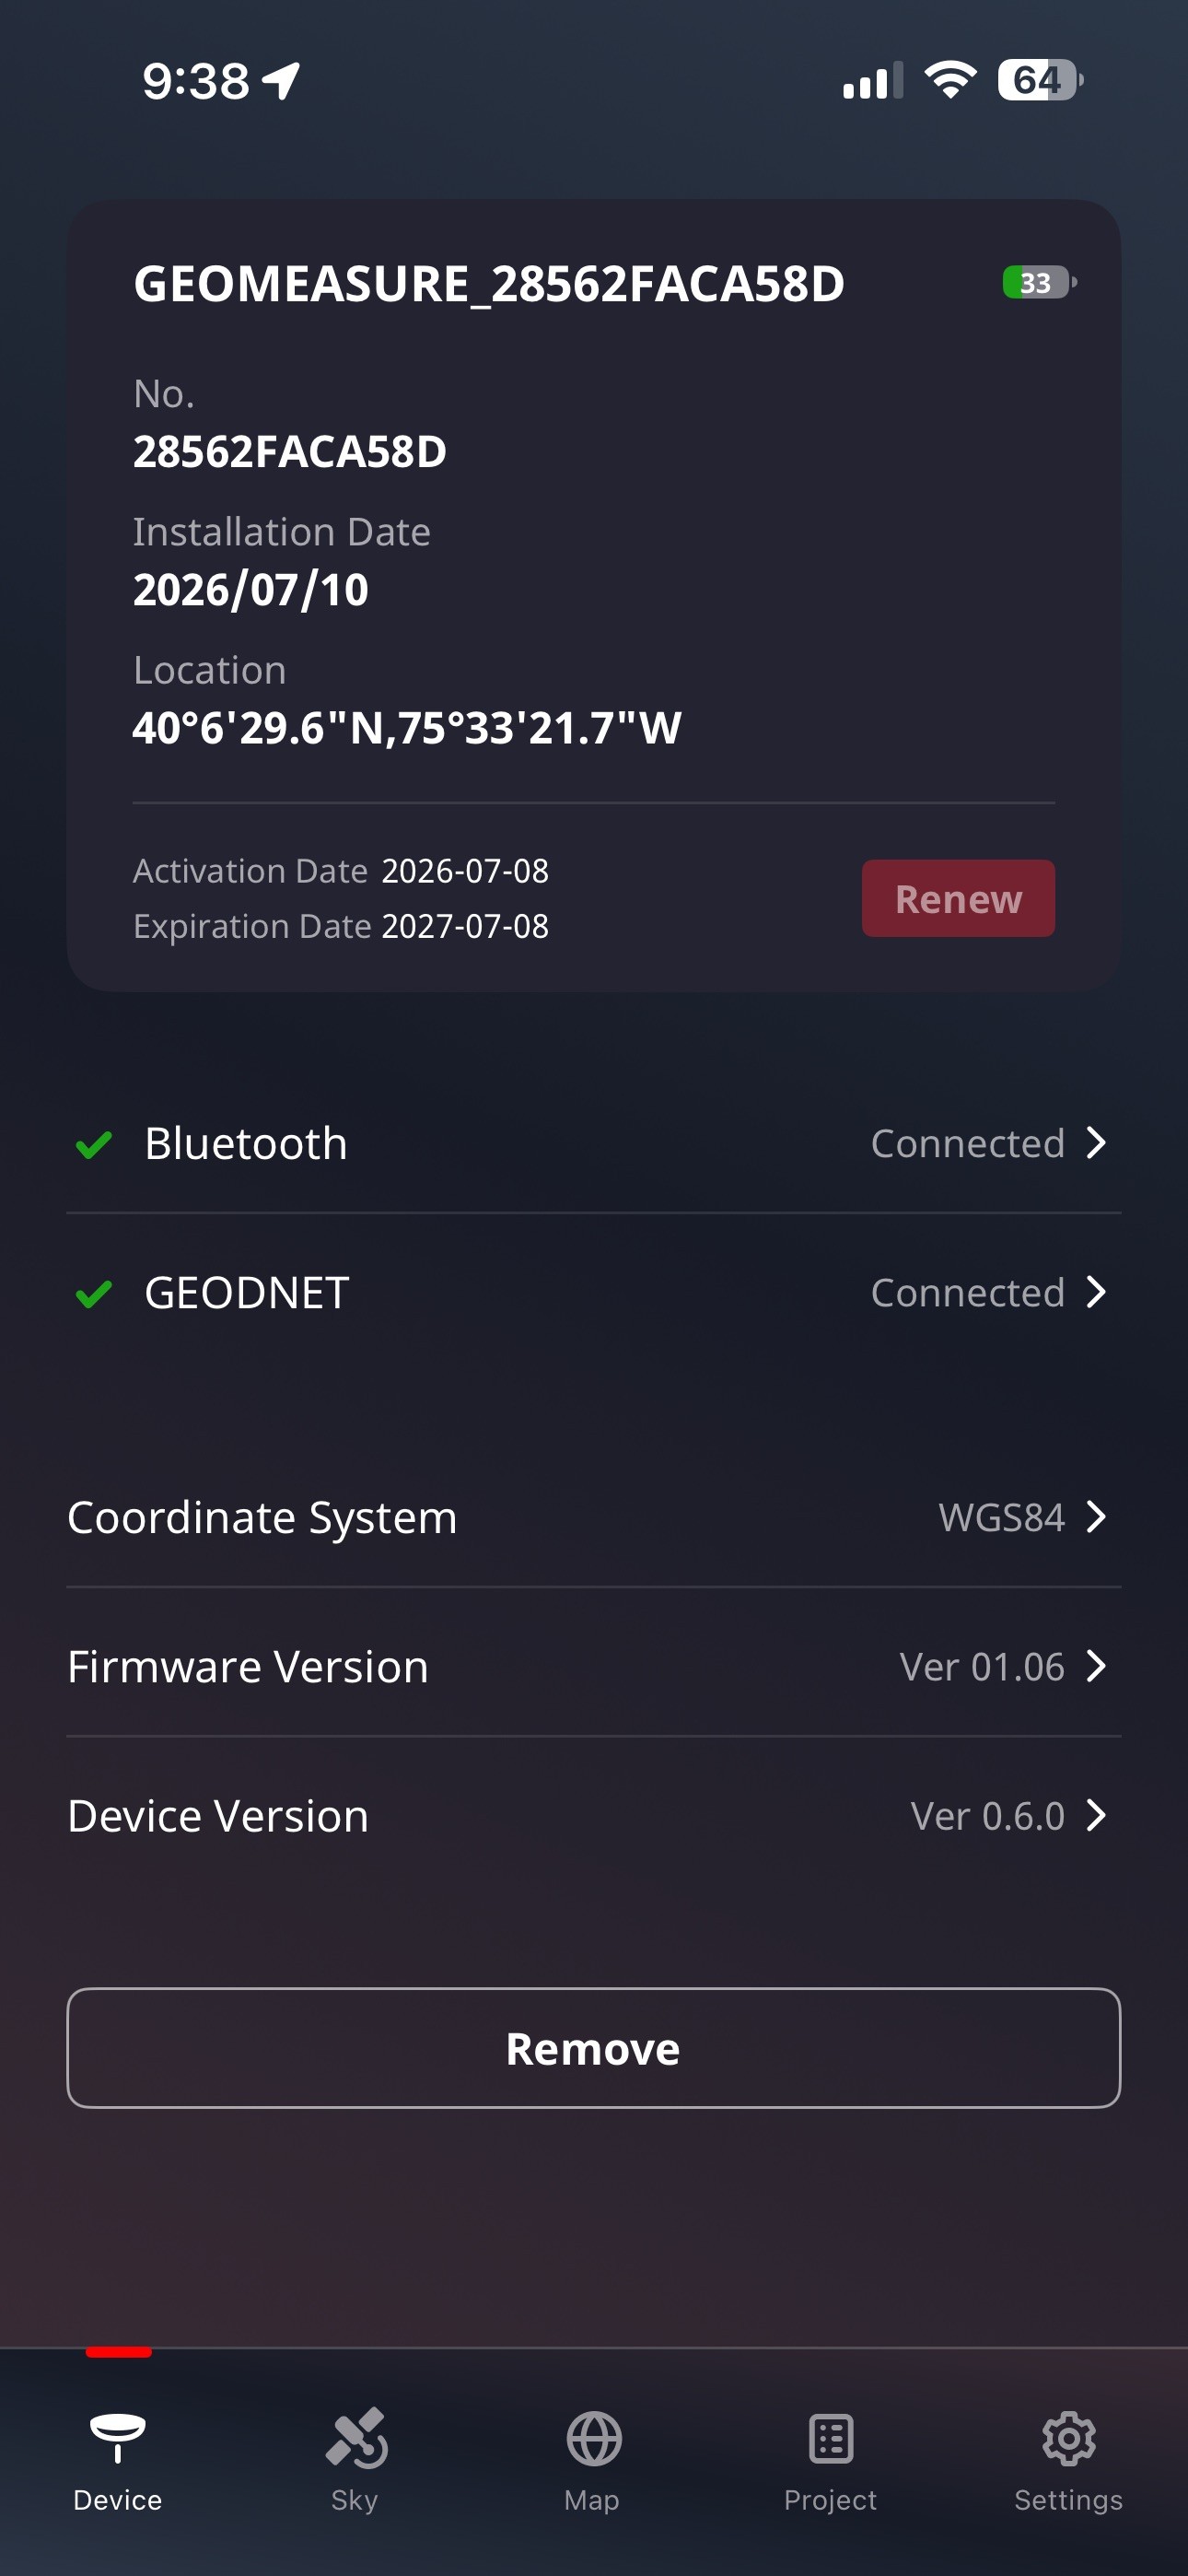
To fully complete setup & connection, ensure RTK Torch is outside with good visibility to the sky and your phone has internet connection. You will see GEODNET connect
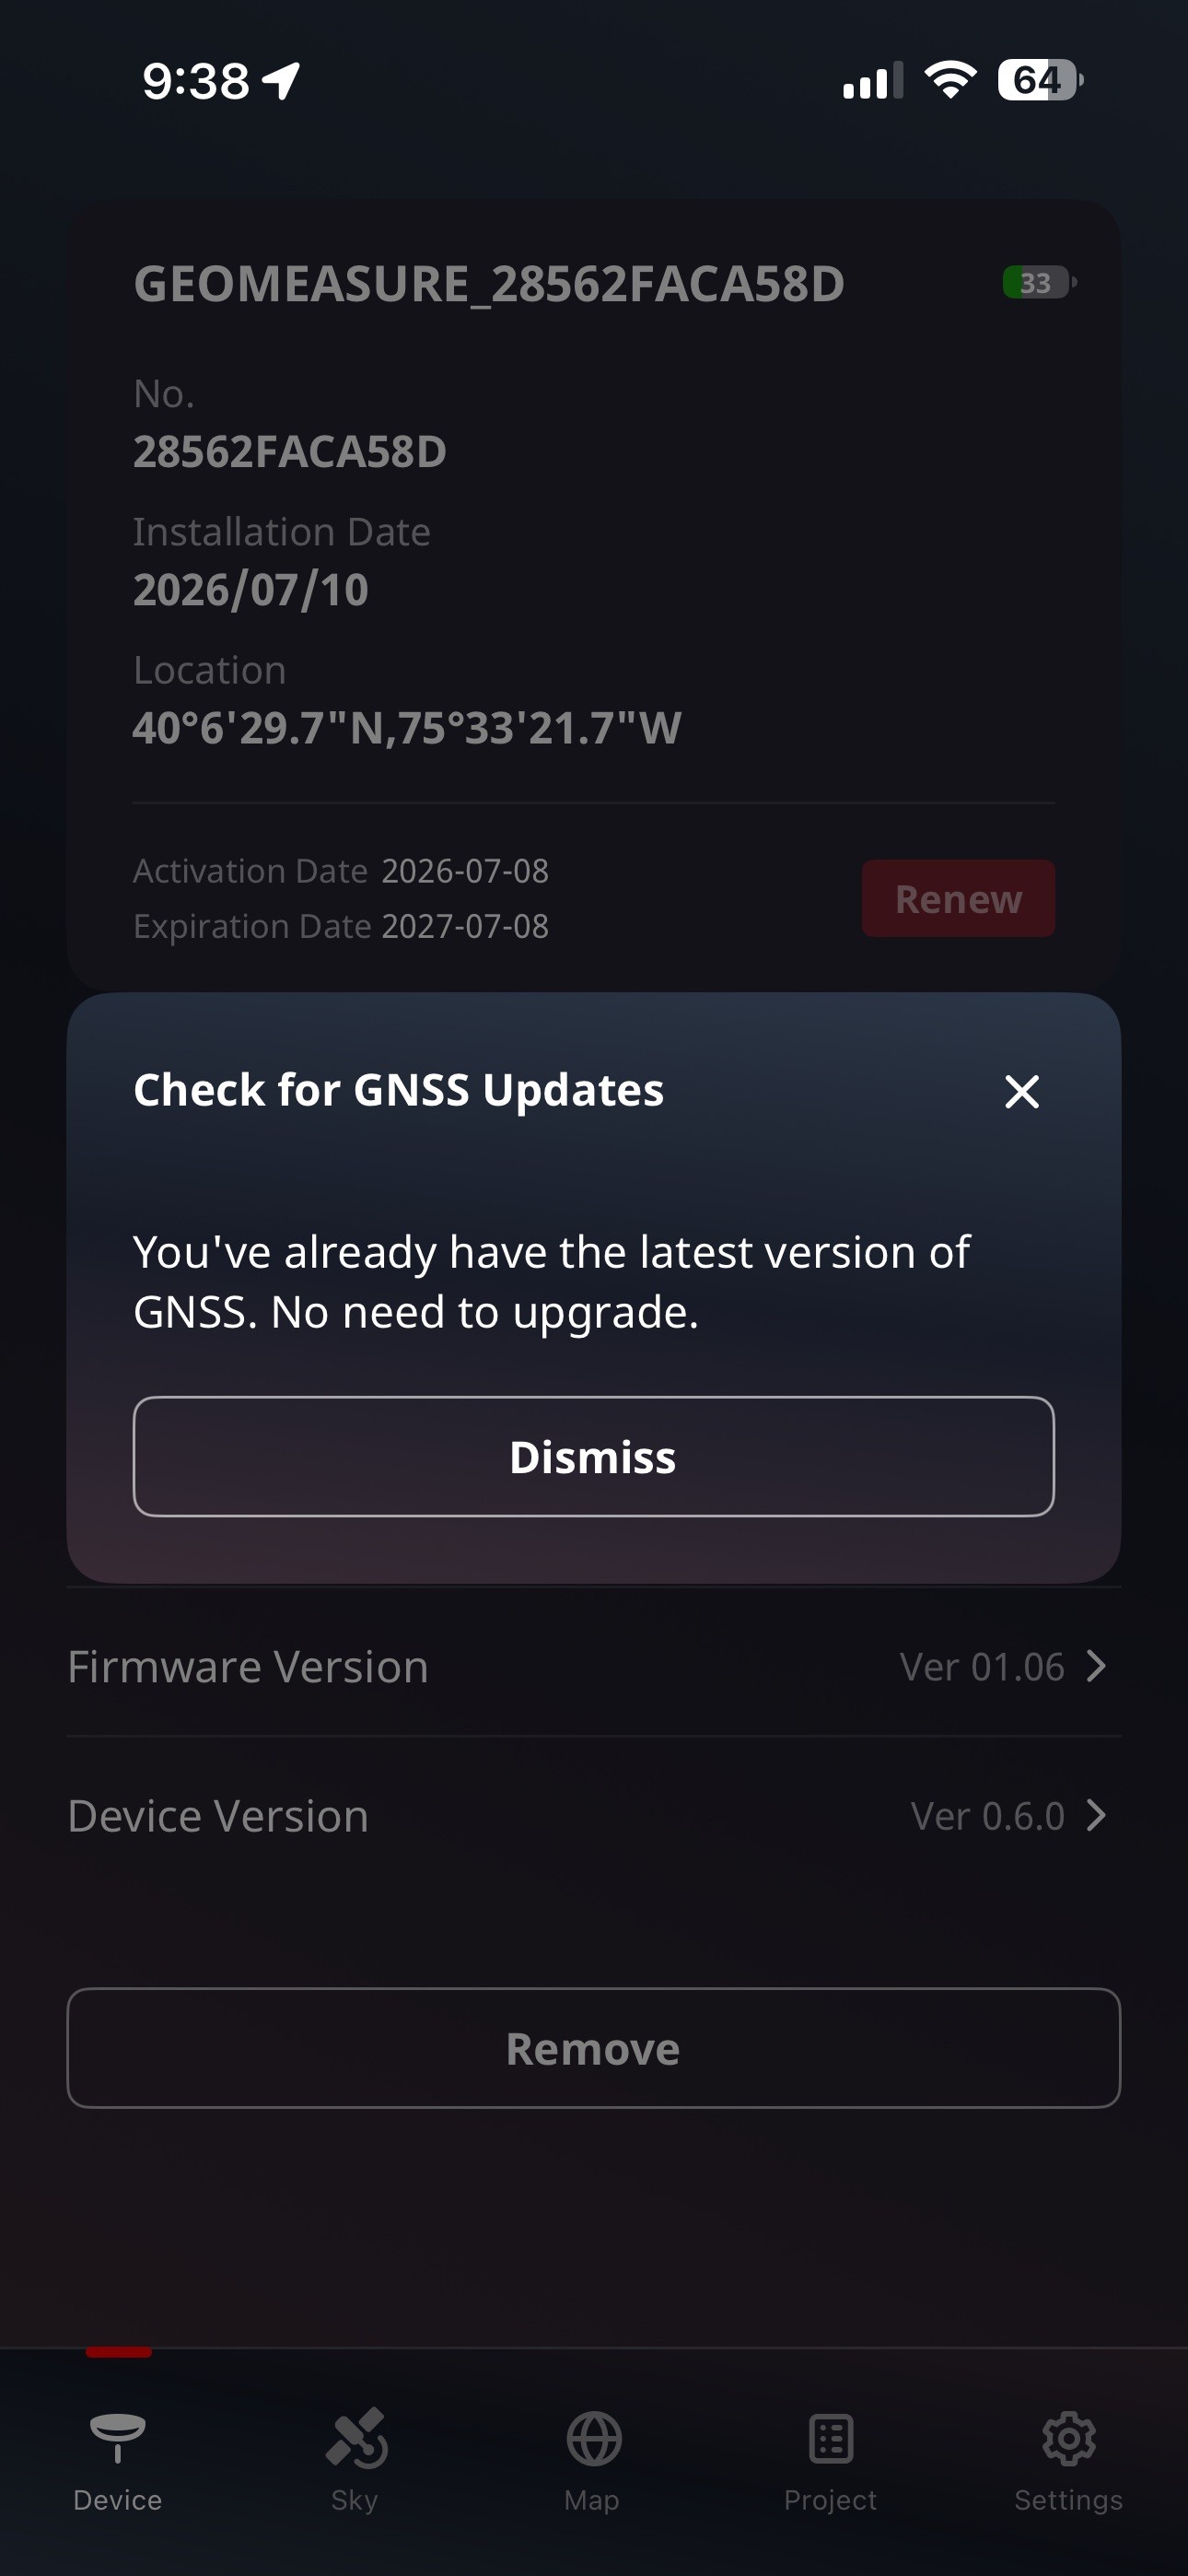
Select “Firmware Version” to ensure the App is on the latest version.
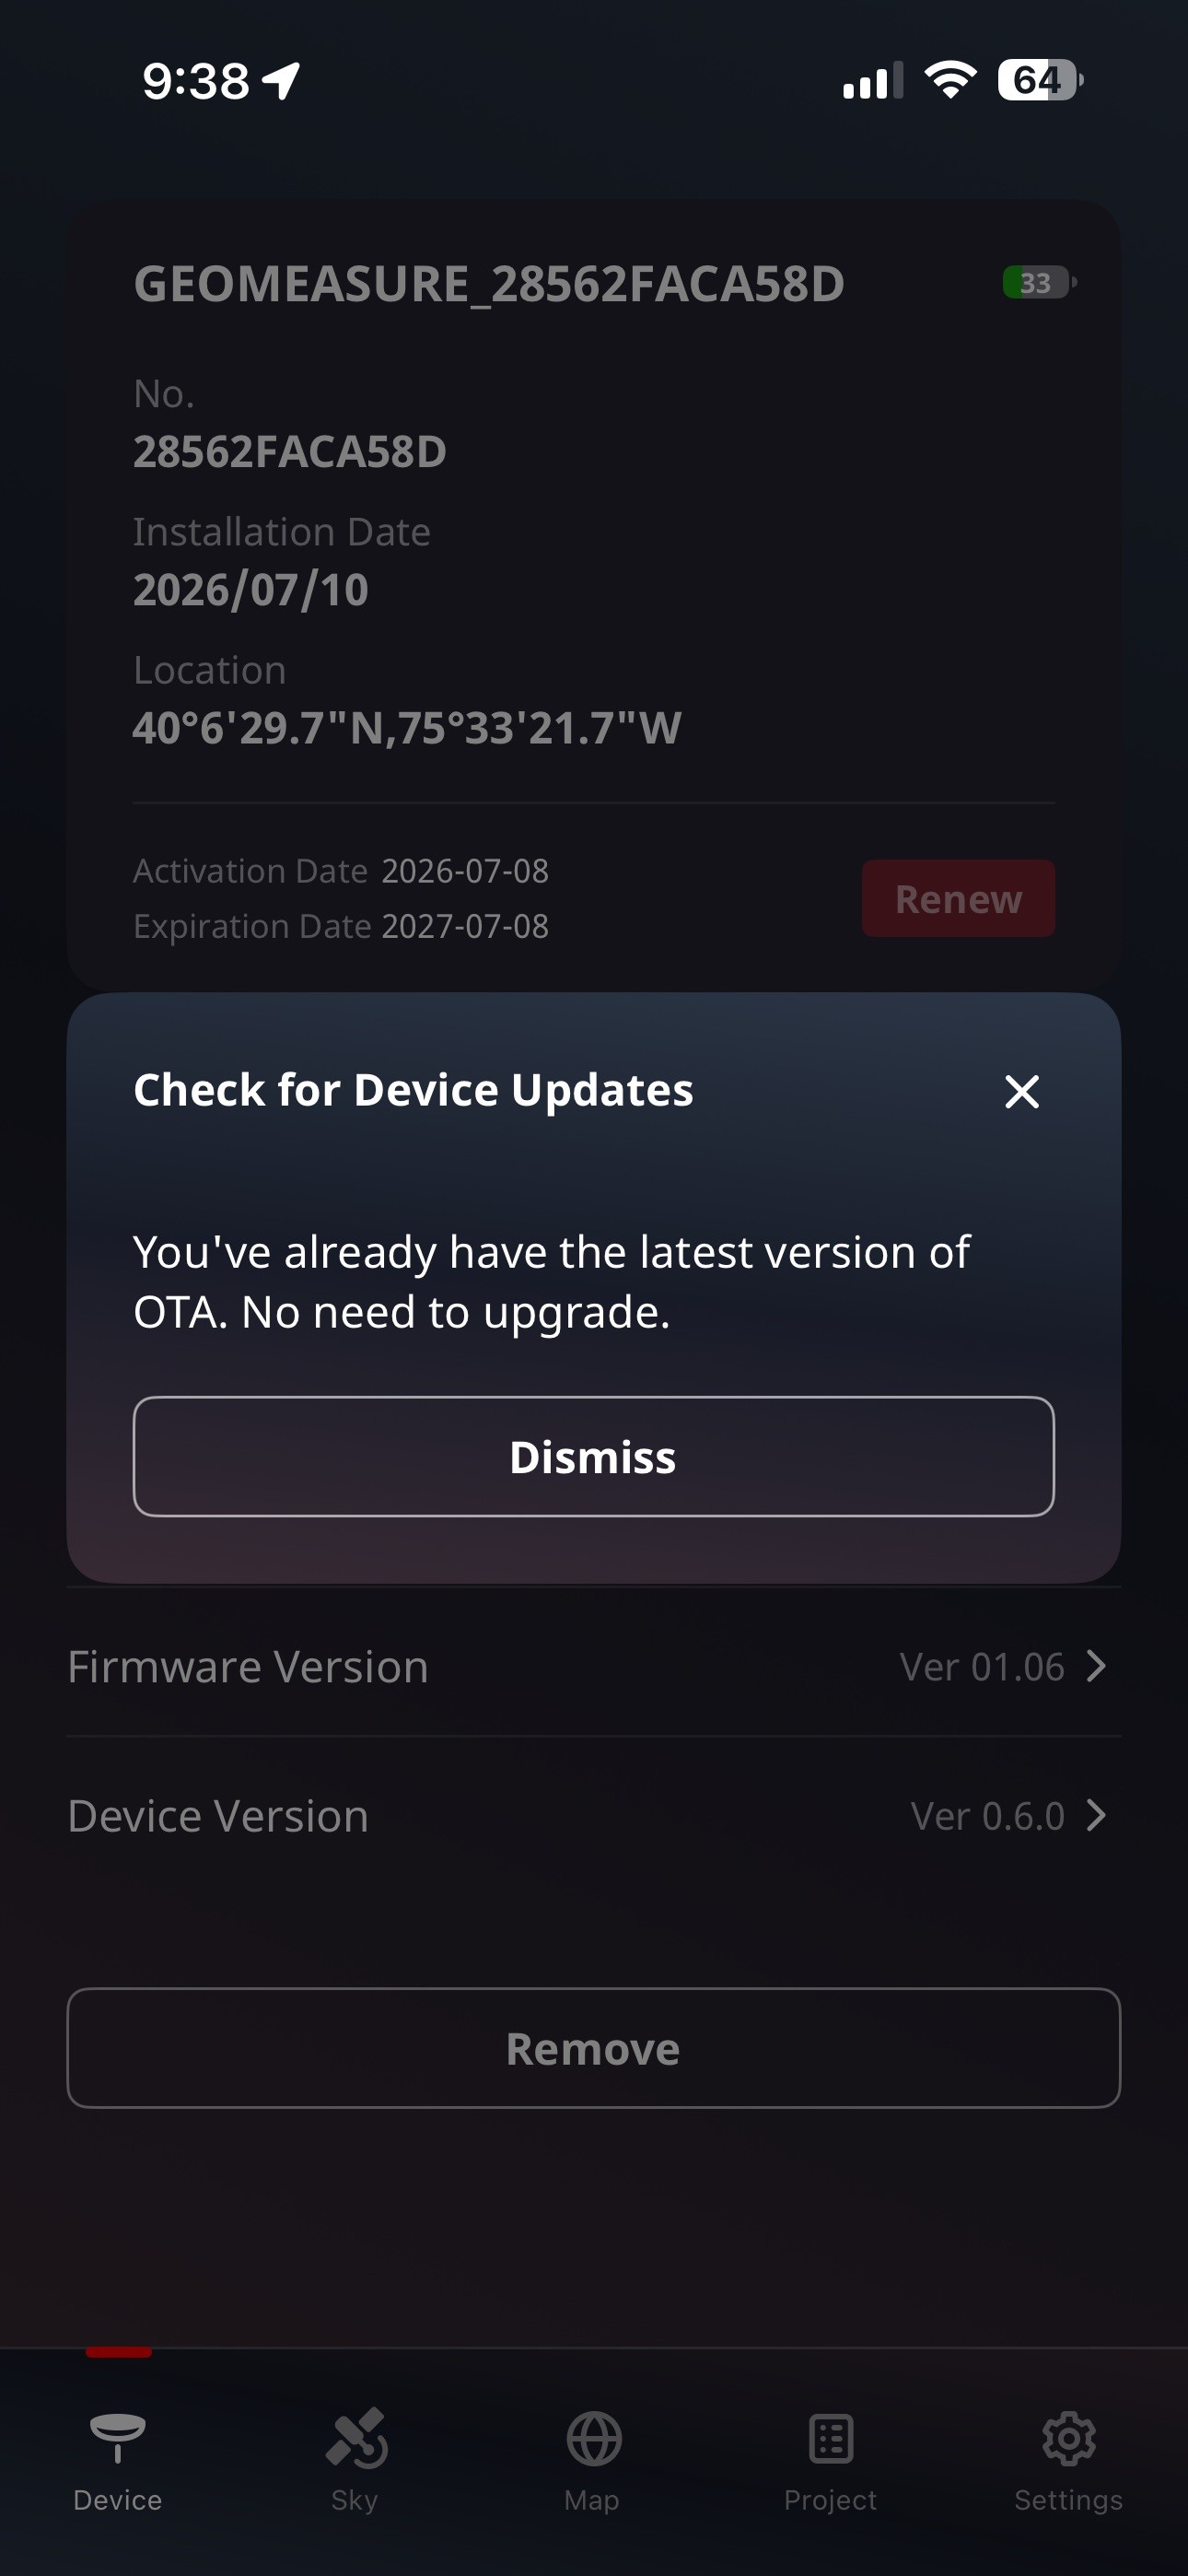
Select “Device Version” to ensure the RTK Torch is on the latest version. Updating can take a few minutes
There are a few important settings to check before using the torch. To do so, select “Settings” in the bottom right corner of the screen
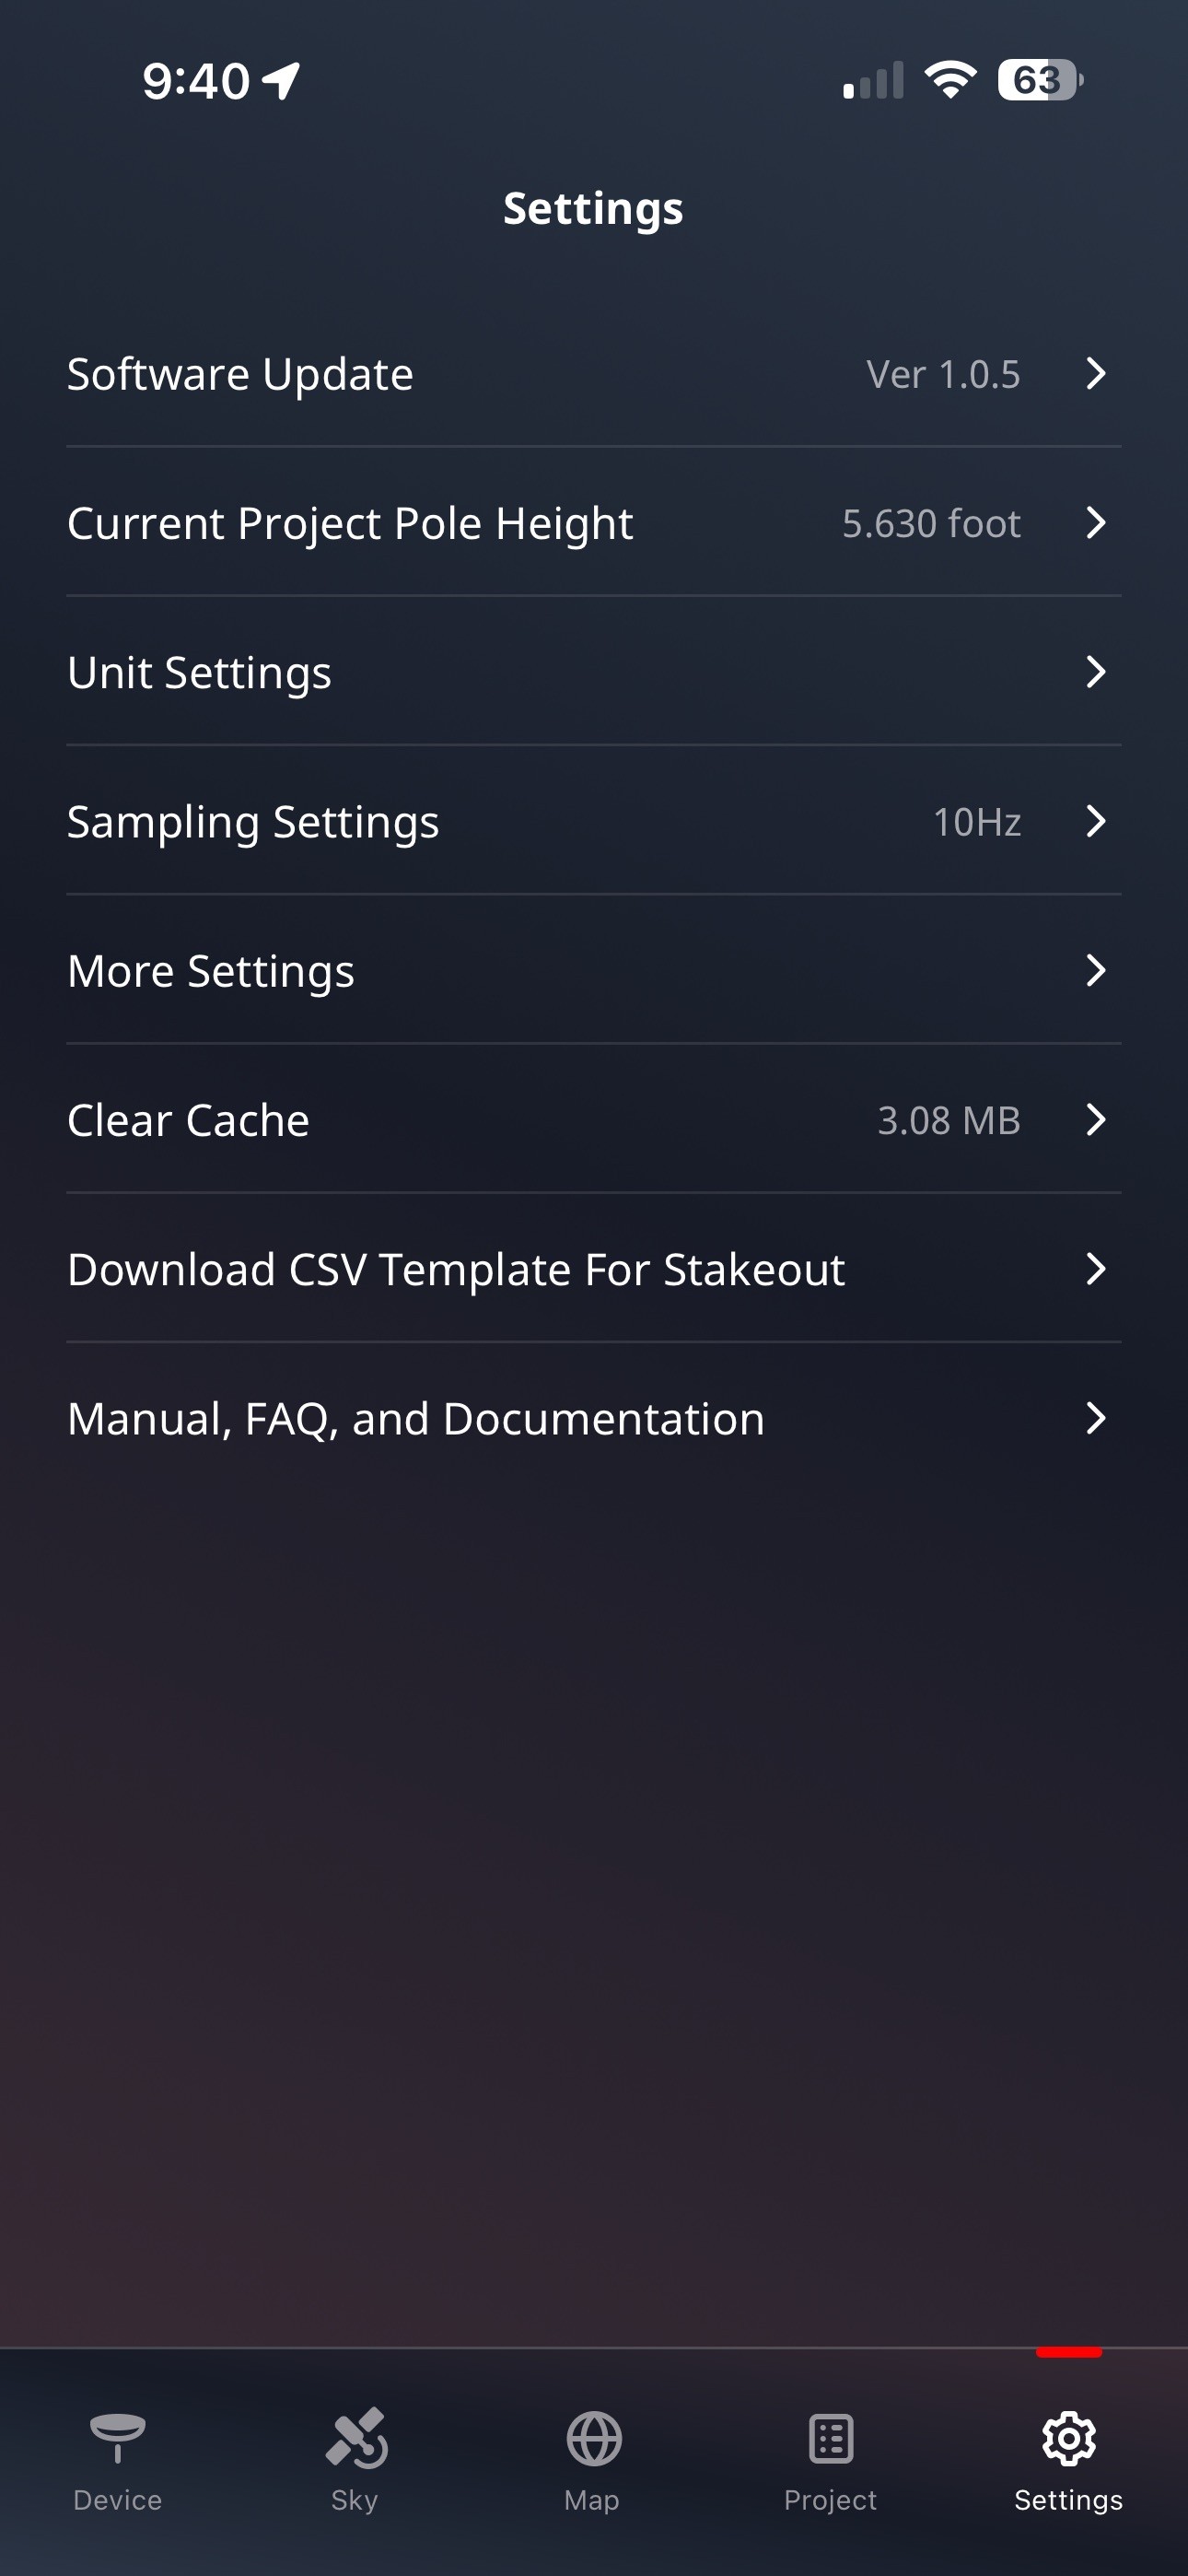
Select “More Settings”, and ensure “Use Last Coordinate System” and “Record Only under RTK Fix” are enabled
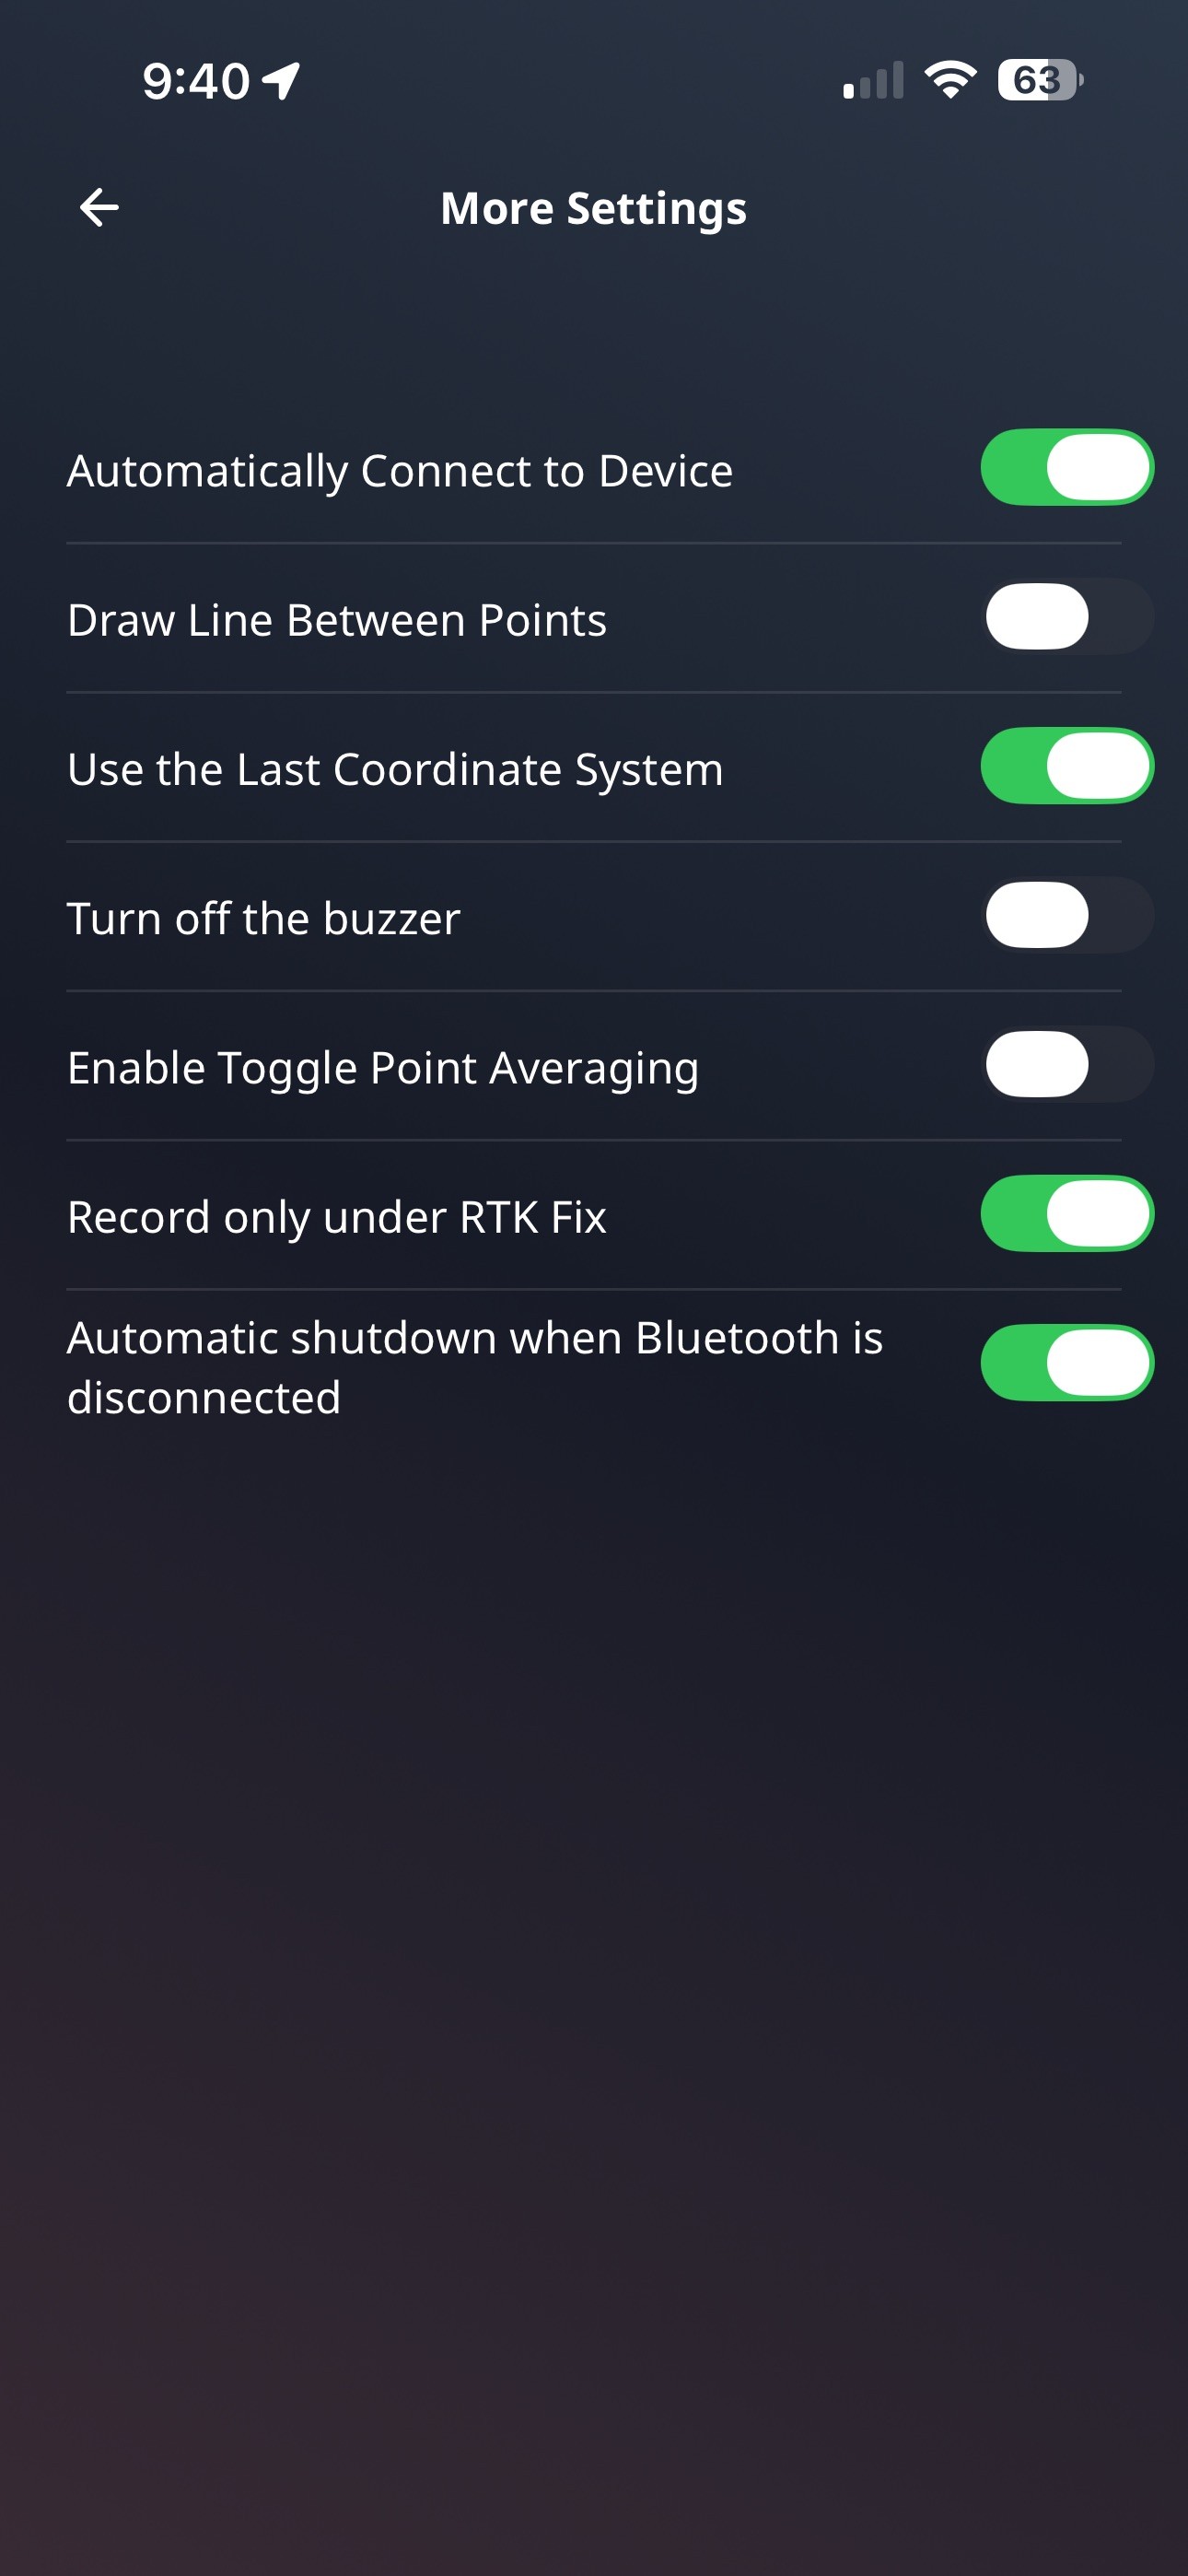
At this point you should be ready to collect data!
RTK Torch Accessories
The RTK Torch can be used to collect singular points, as well as paths. To make collecting individual points, consider mounting the RTK Torch on a survey pole or monopod. For collecting paths with a vehicle, its recommended to get a magnetic mount or pole mount.
RTK Torch Mounting Threads: 5/8"-11
Using the RTK Torch to collect GPS Data
Setting up a Project
Select the Project menu from the bottom of the screen, and “Create” a new project
If one already exists, select “Edit” in the top right, then “Create”
Enter a project name. This name will be in the exported file name, and eventually BOSS Web. Set your “Pole Height” to how far the torch is off the ground. For a surveying pole, use the length of the pole. For other mounts, estimate the height from the ground
If prompted for a “Coordinate System”, ensure WGS84 is selected
Select the “Device” Menu from the bottom left, and ensure the coordinate system selected is “WGS84”
Map View & Collecting Data
To collect points, select the “Map” menu from the bottom menu. Some important functions:
Status Bar shows the quality of signal - RTK Fix is the most accurate, and required for survey points
Switch layers enables a Satellite view
Single Point measure records a point
Record Track records a path
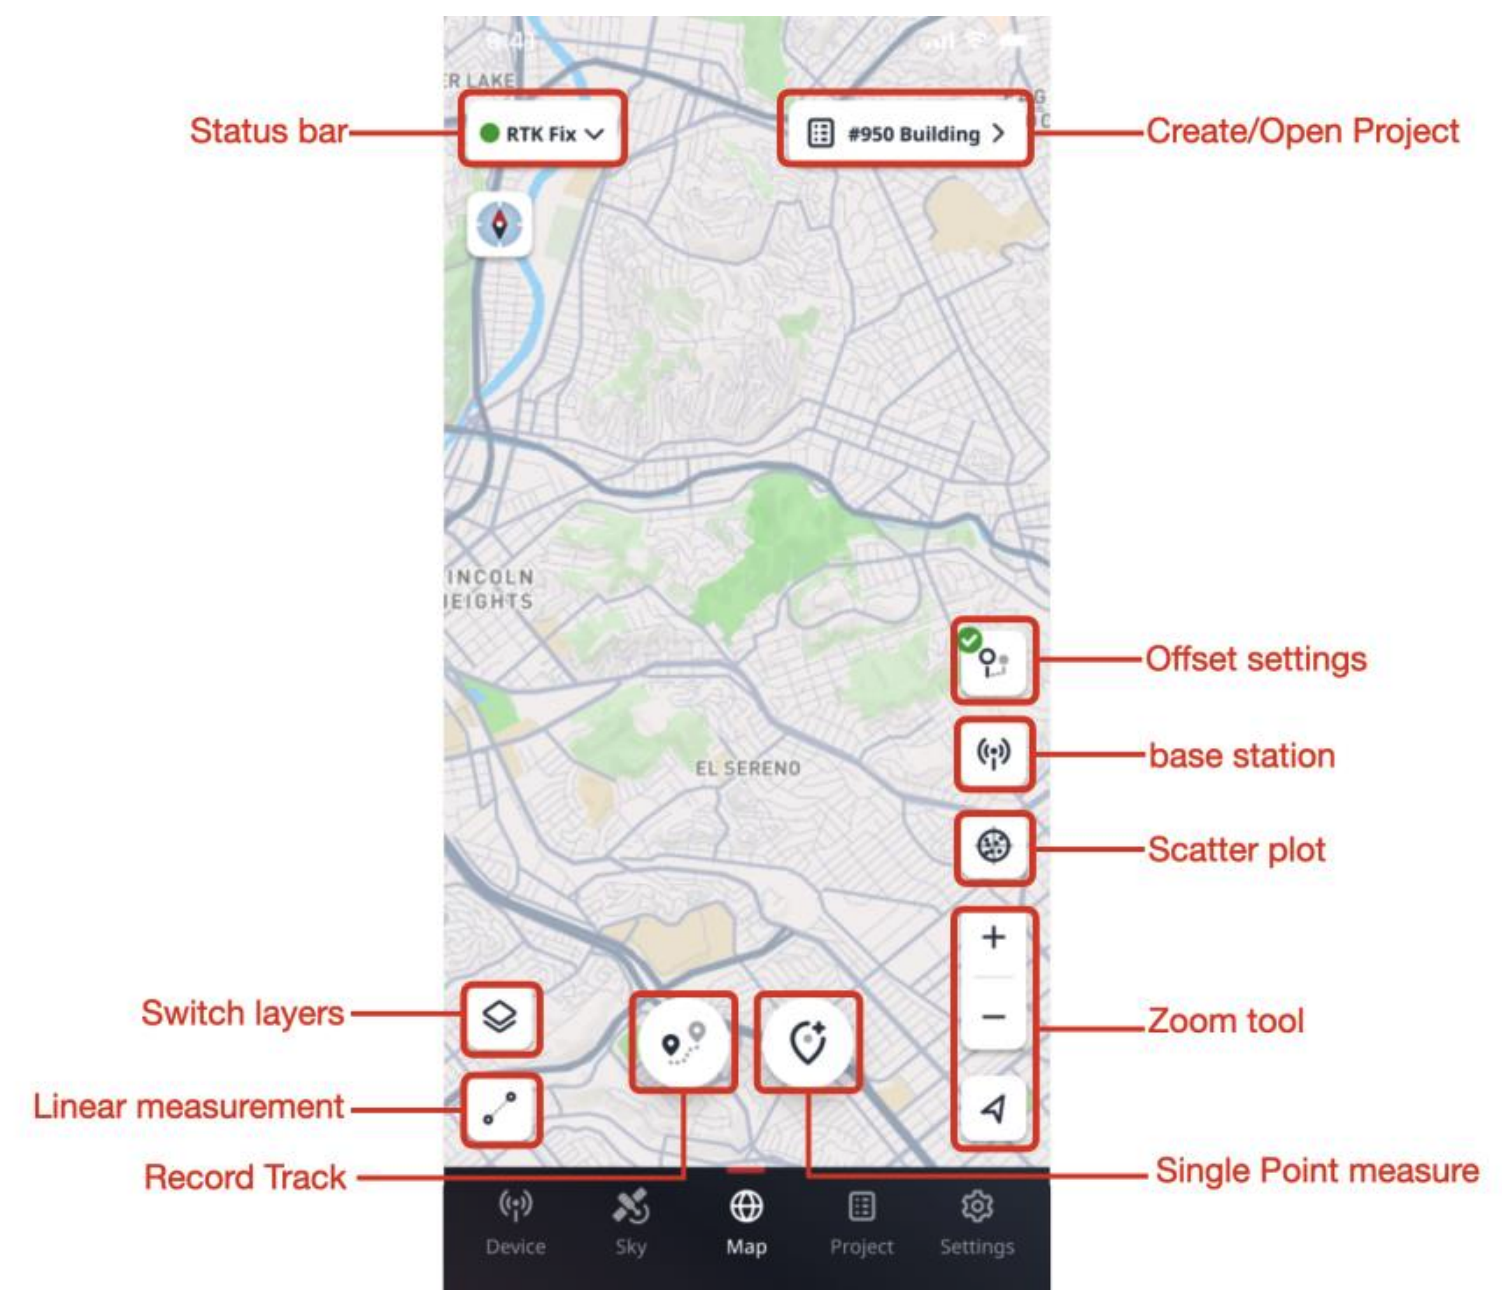
At this point, youre ready to collect data. Press single point measure to record a point. Select Record track to record a path, then click stop.
Exporting Data
BOSS Web operates on a file format called “GeoJSON”. This file type includes all necessary information about the points recorded.
Select the “Project” Menu
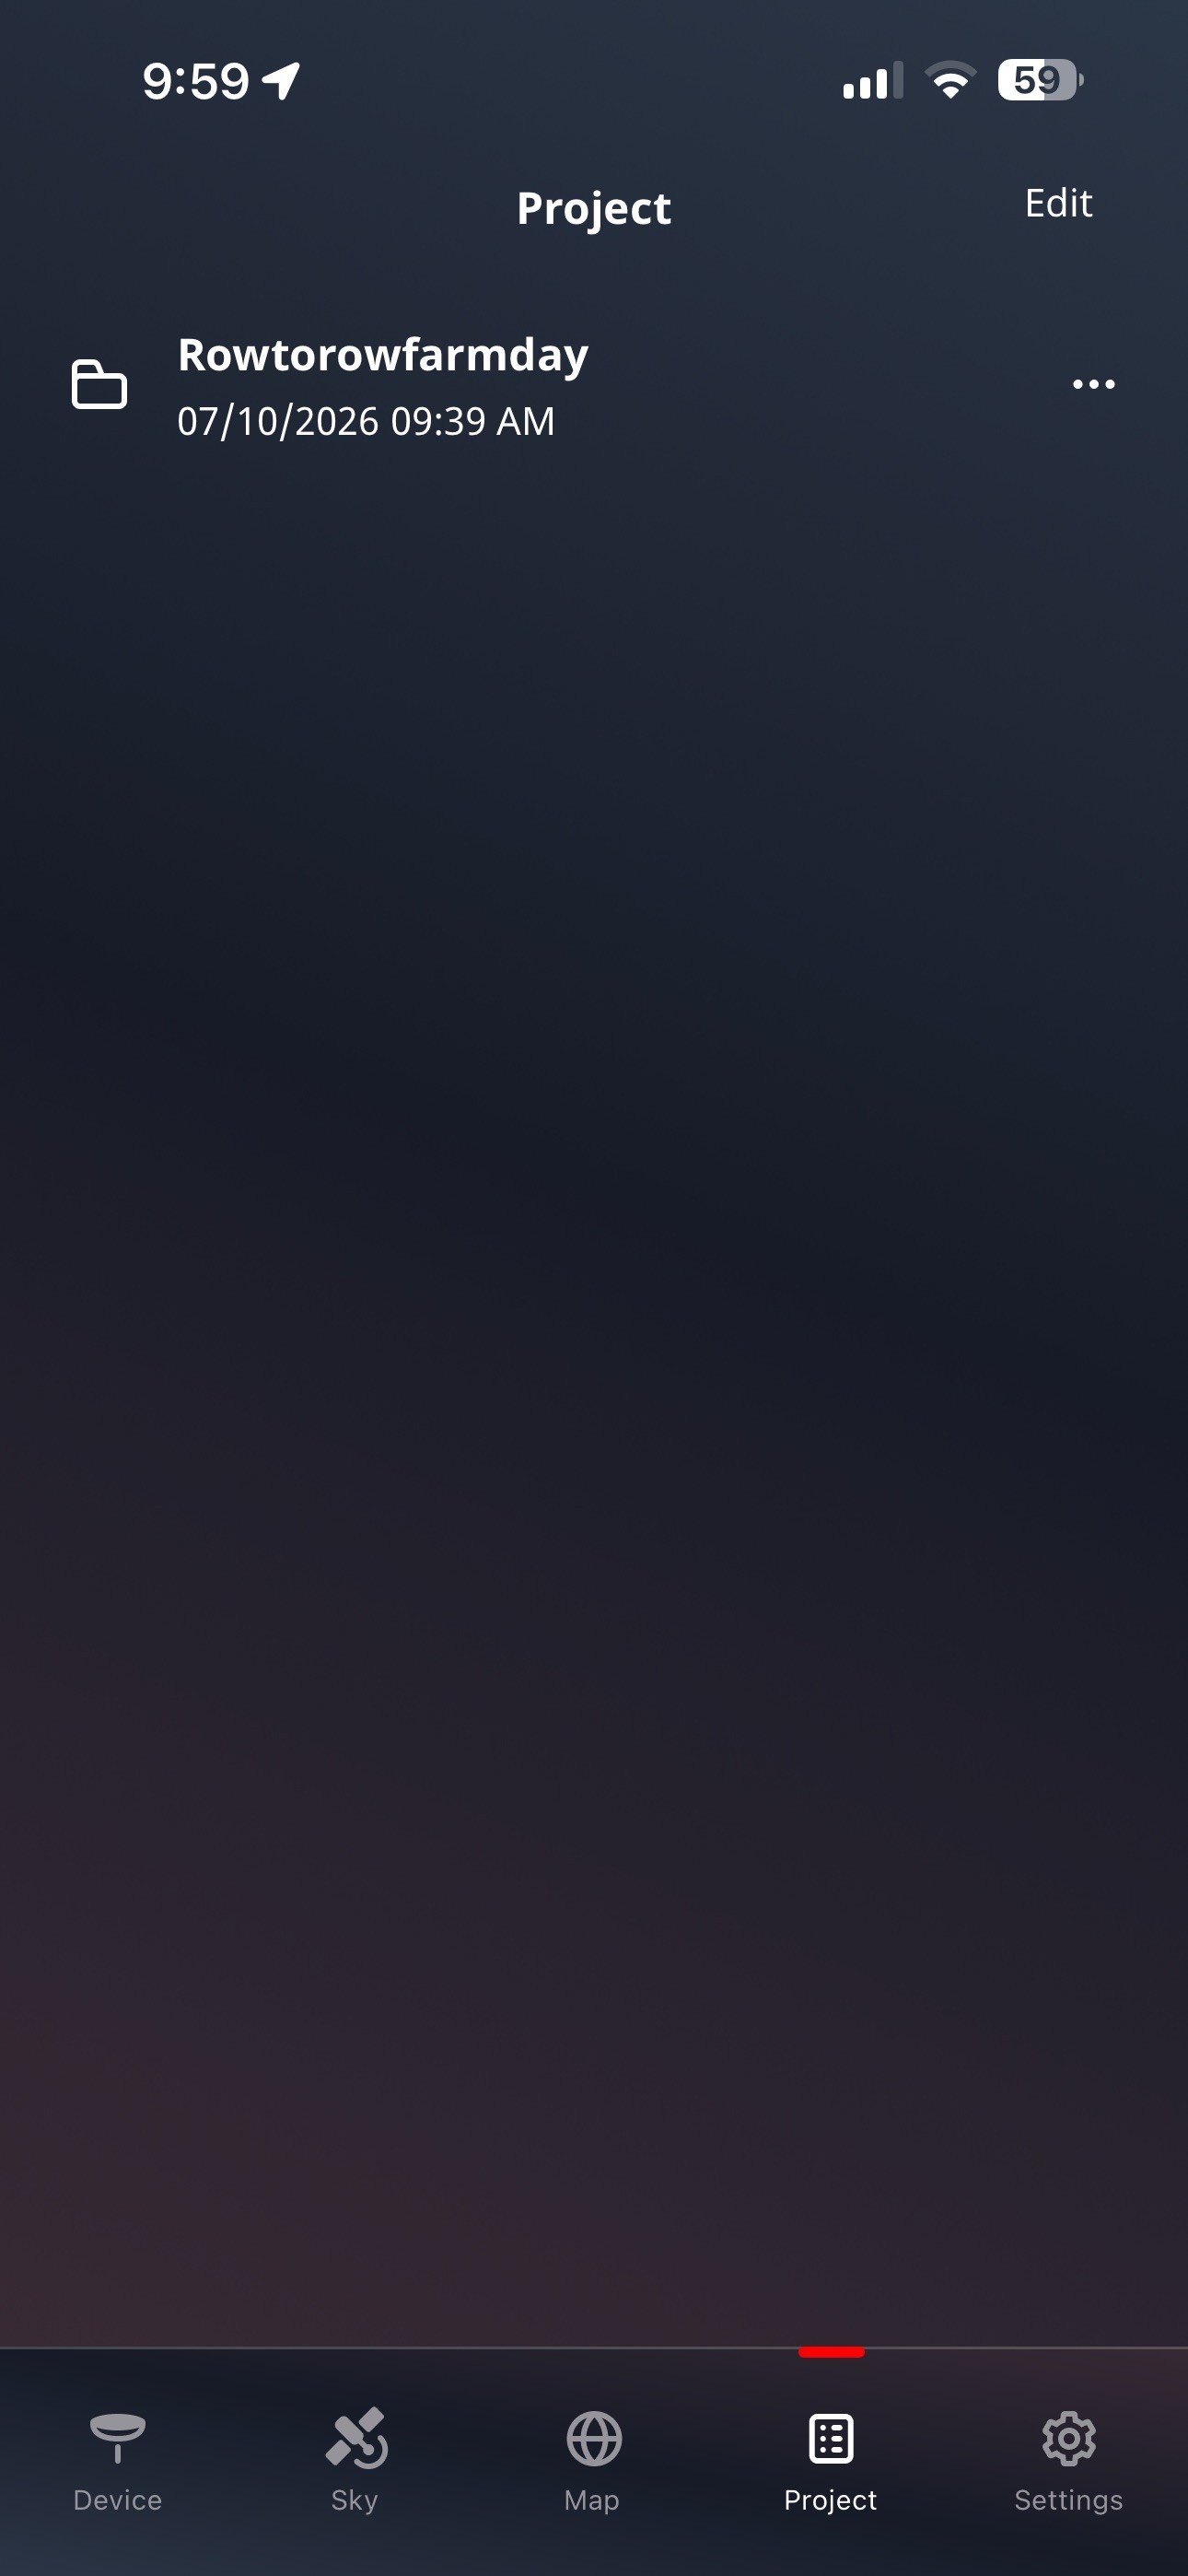
Select the Project you wish to export. In the folder, you will see a file that has all the “Points” you collected, and a file for each “track” collected
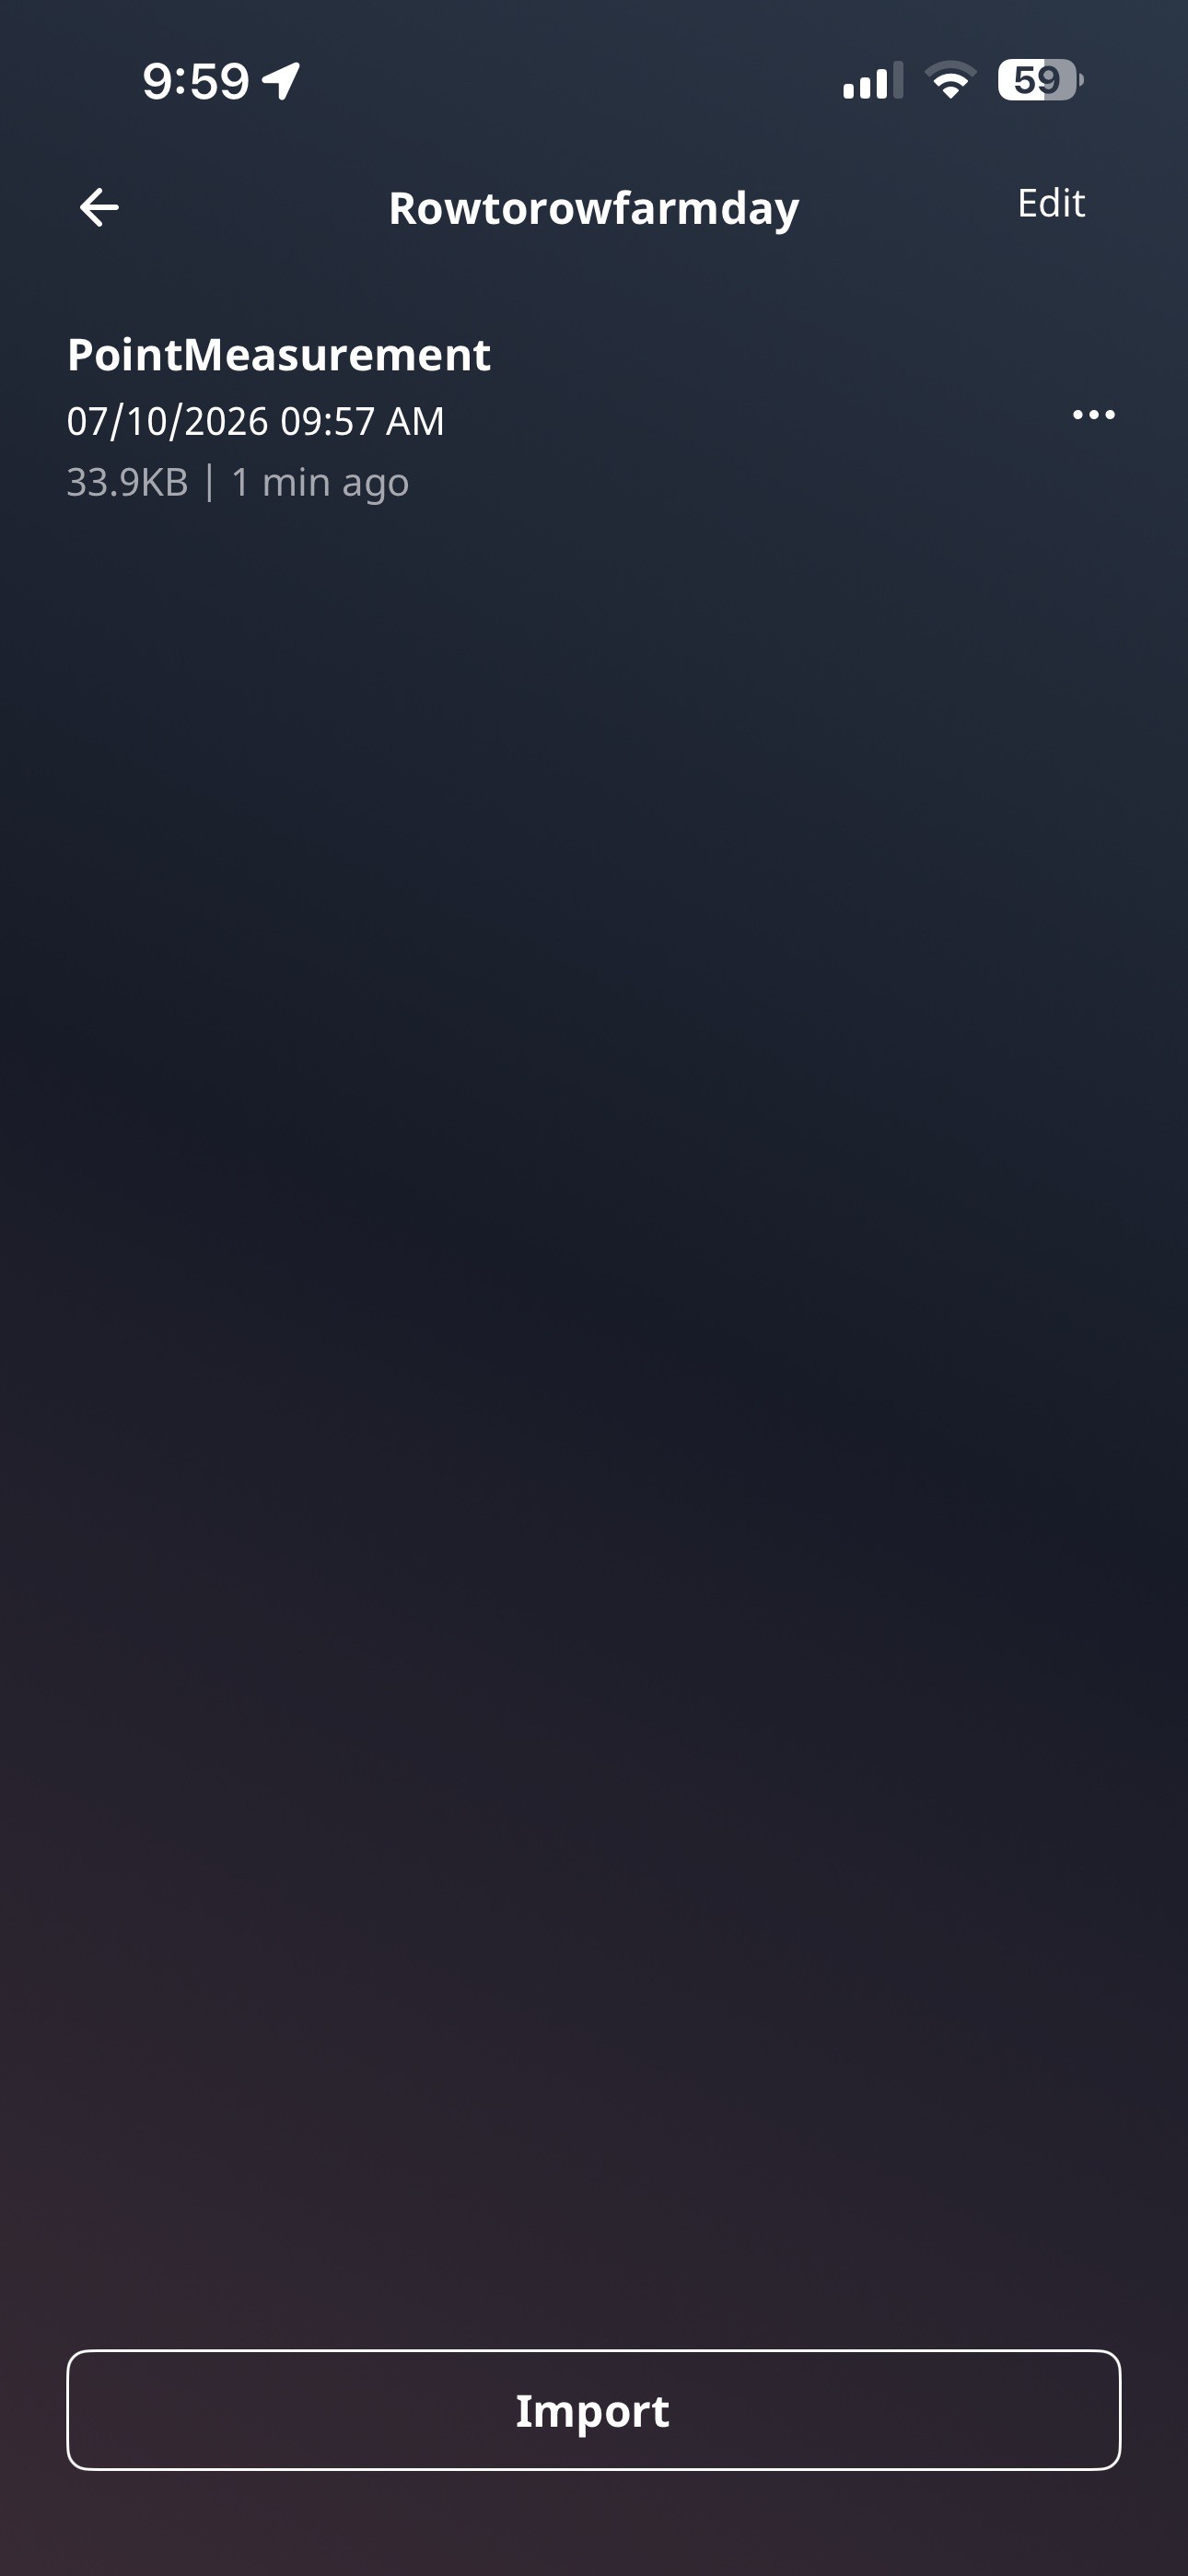
To export, select the ••• menu next to the file you wish to export
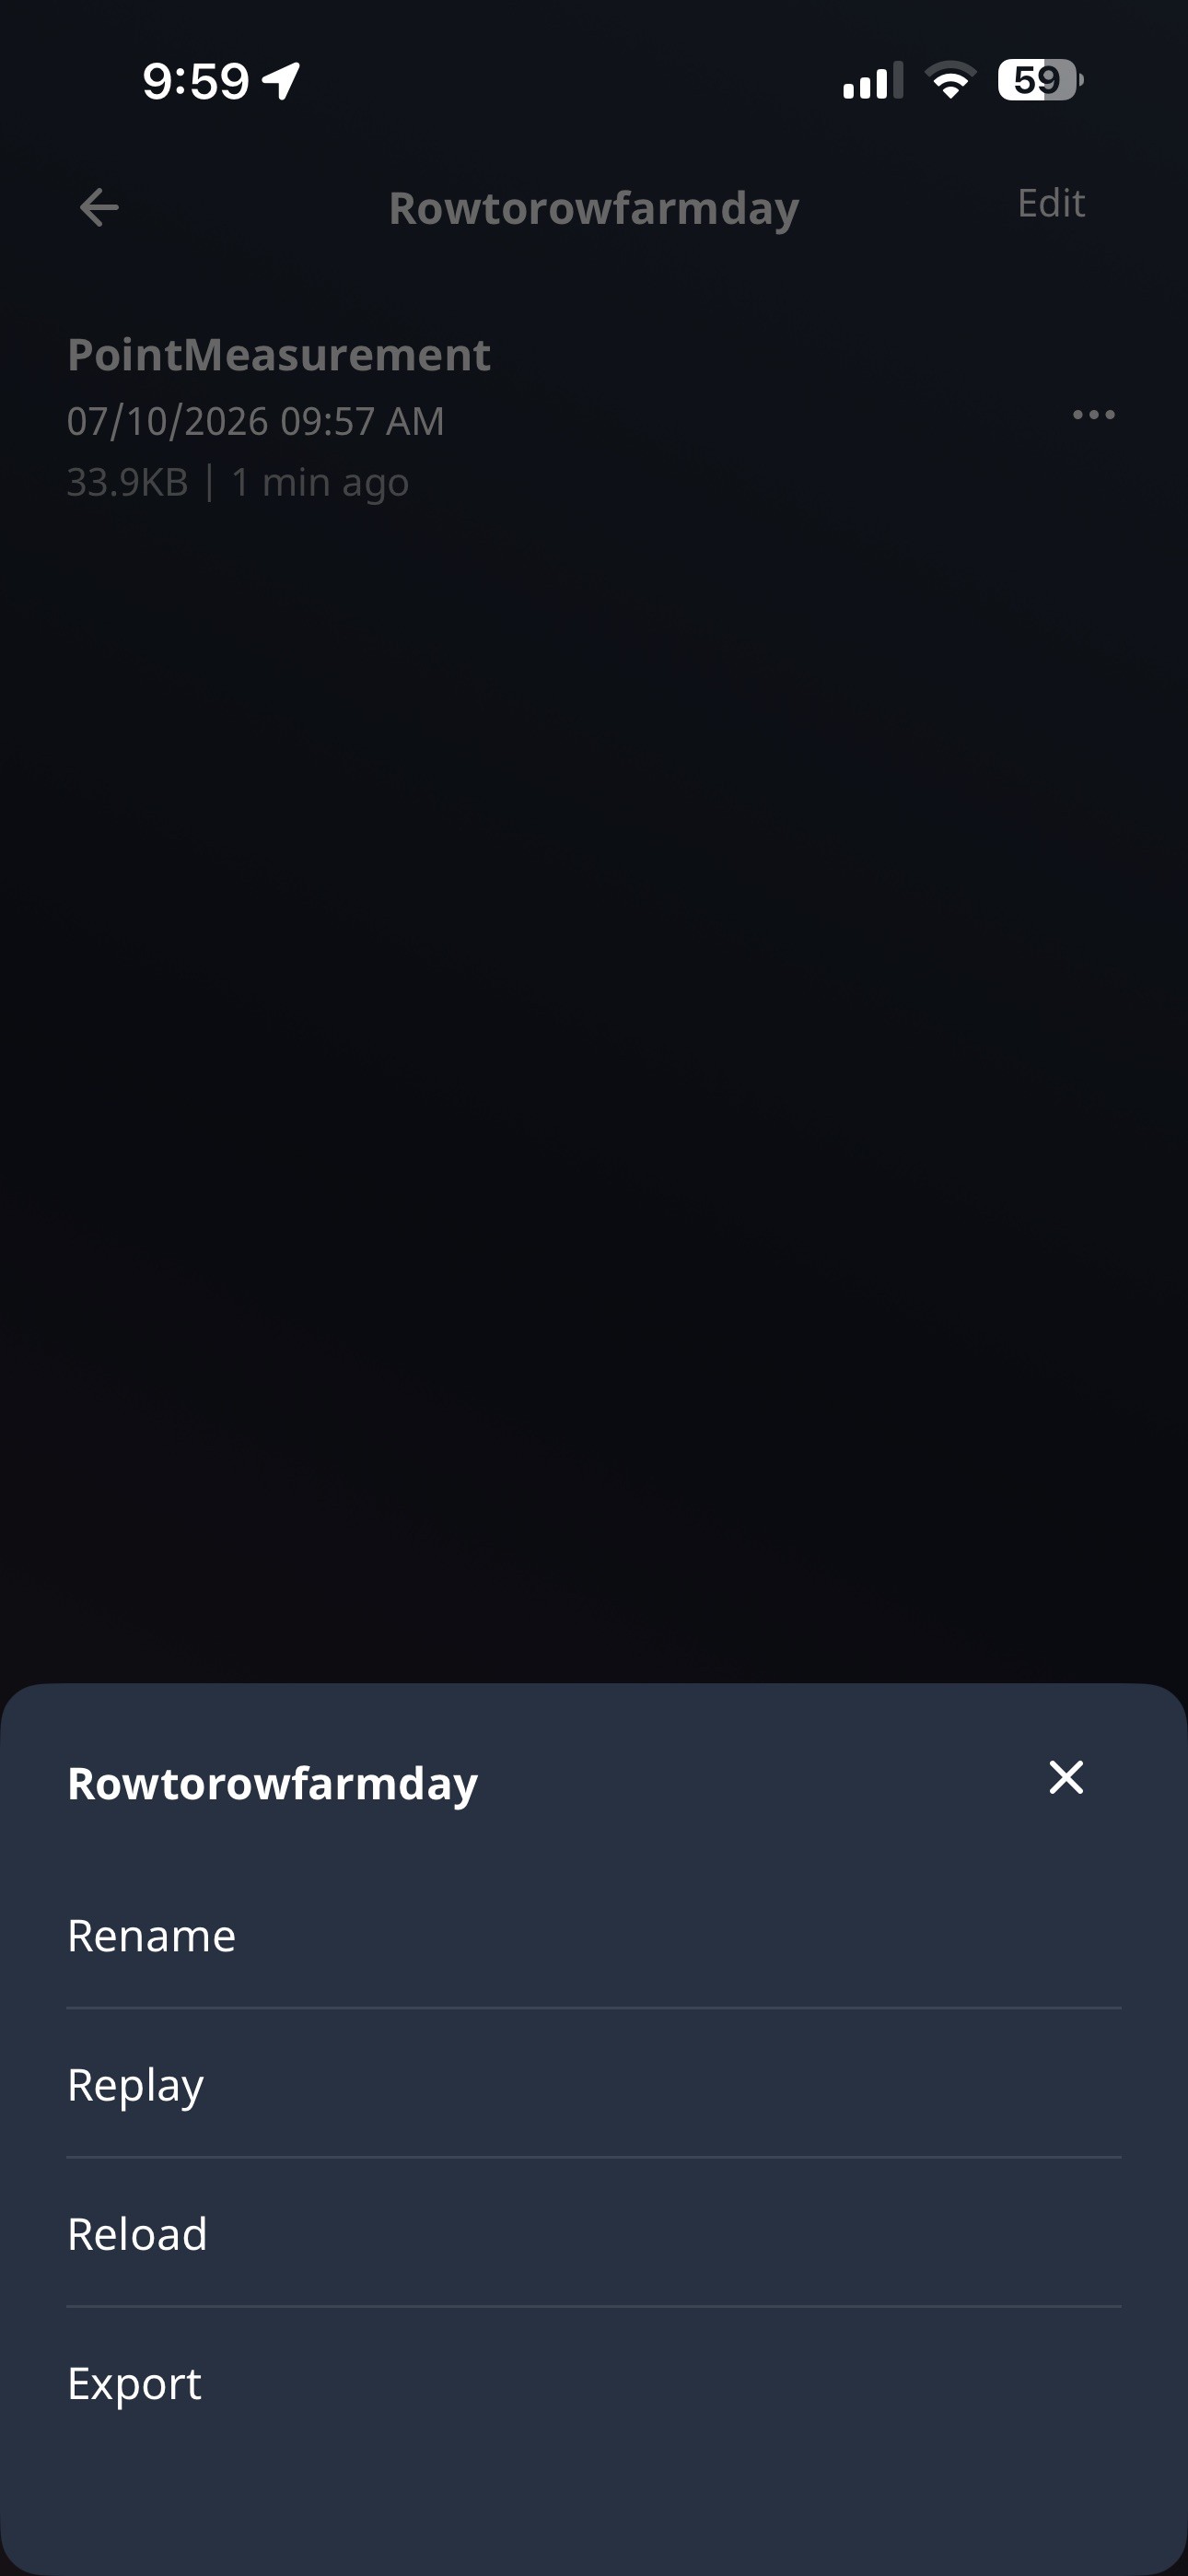
Select “Export”
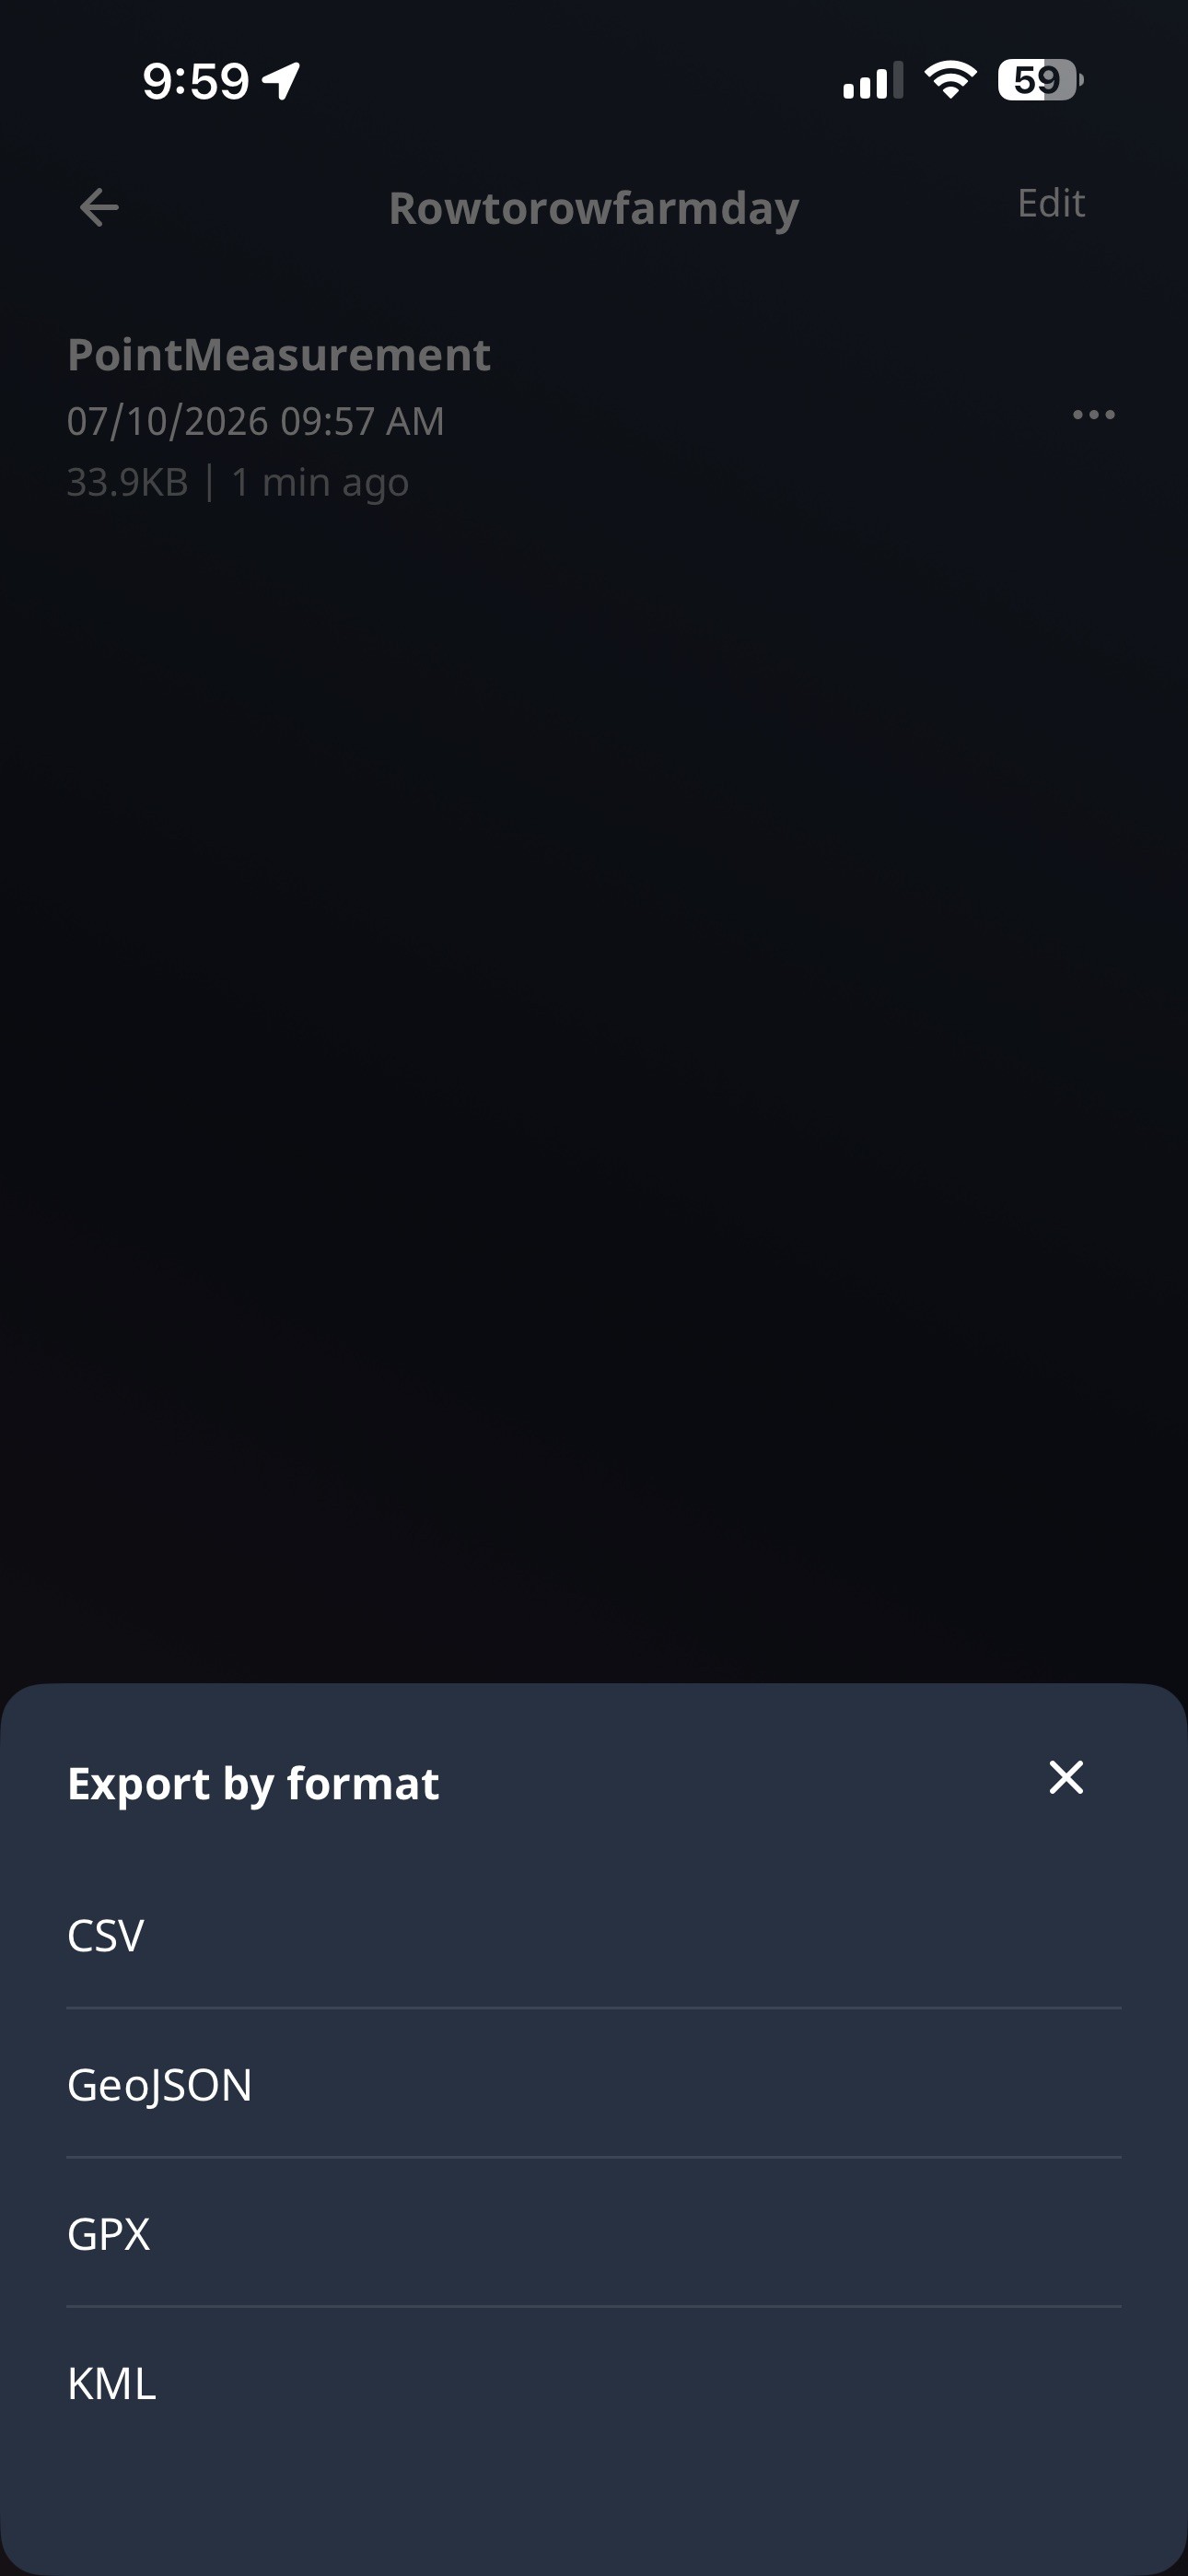
Select “GeoJSON”, then send to your computer by whichever means is easiest (Email, Text, etc)
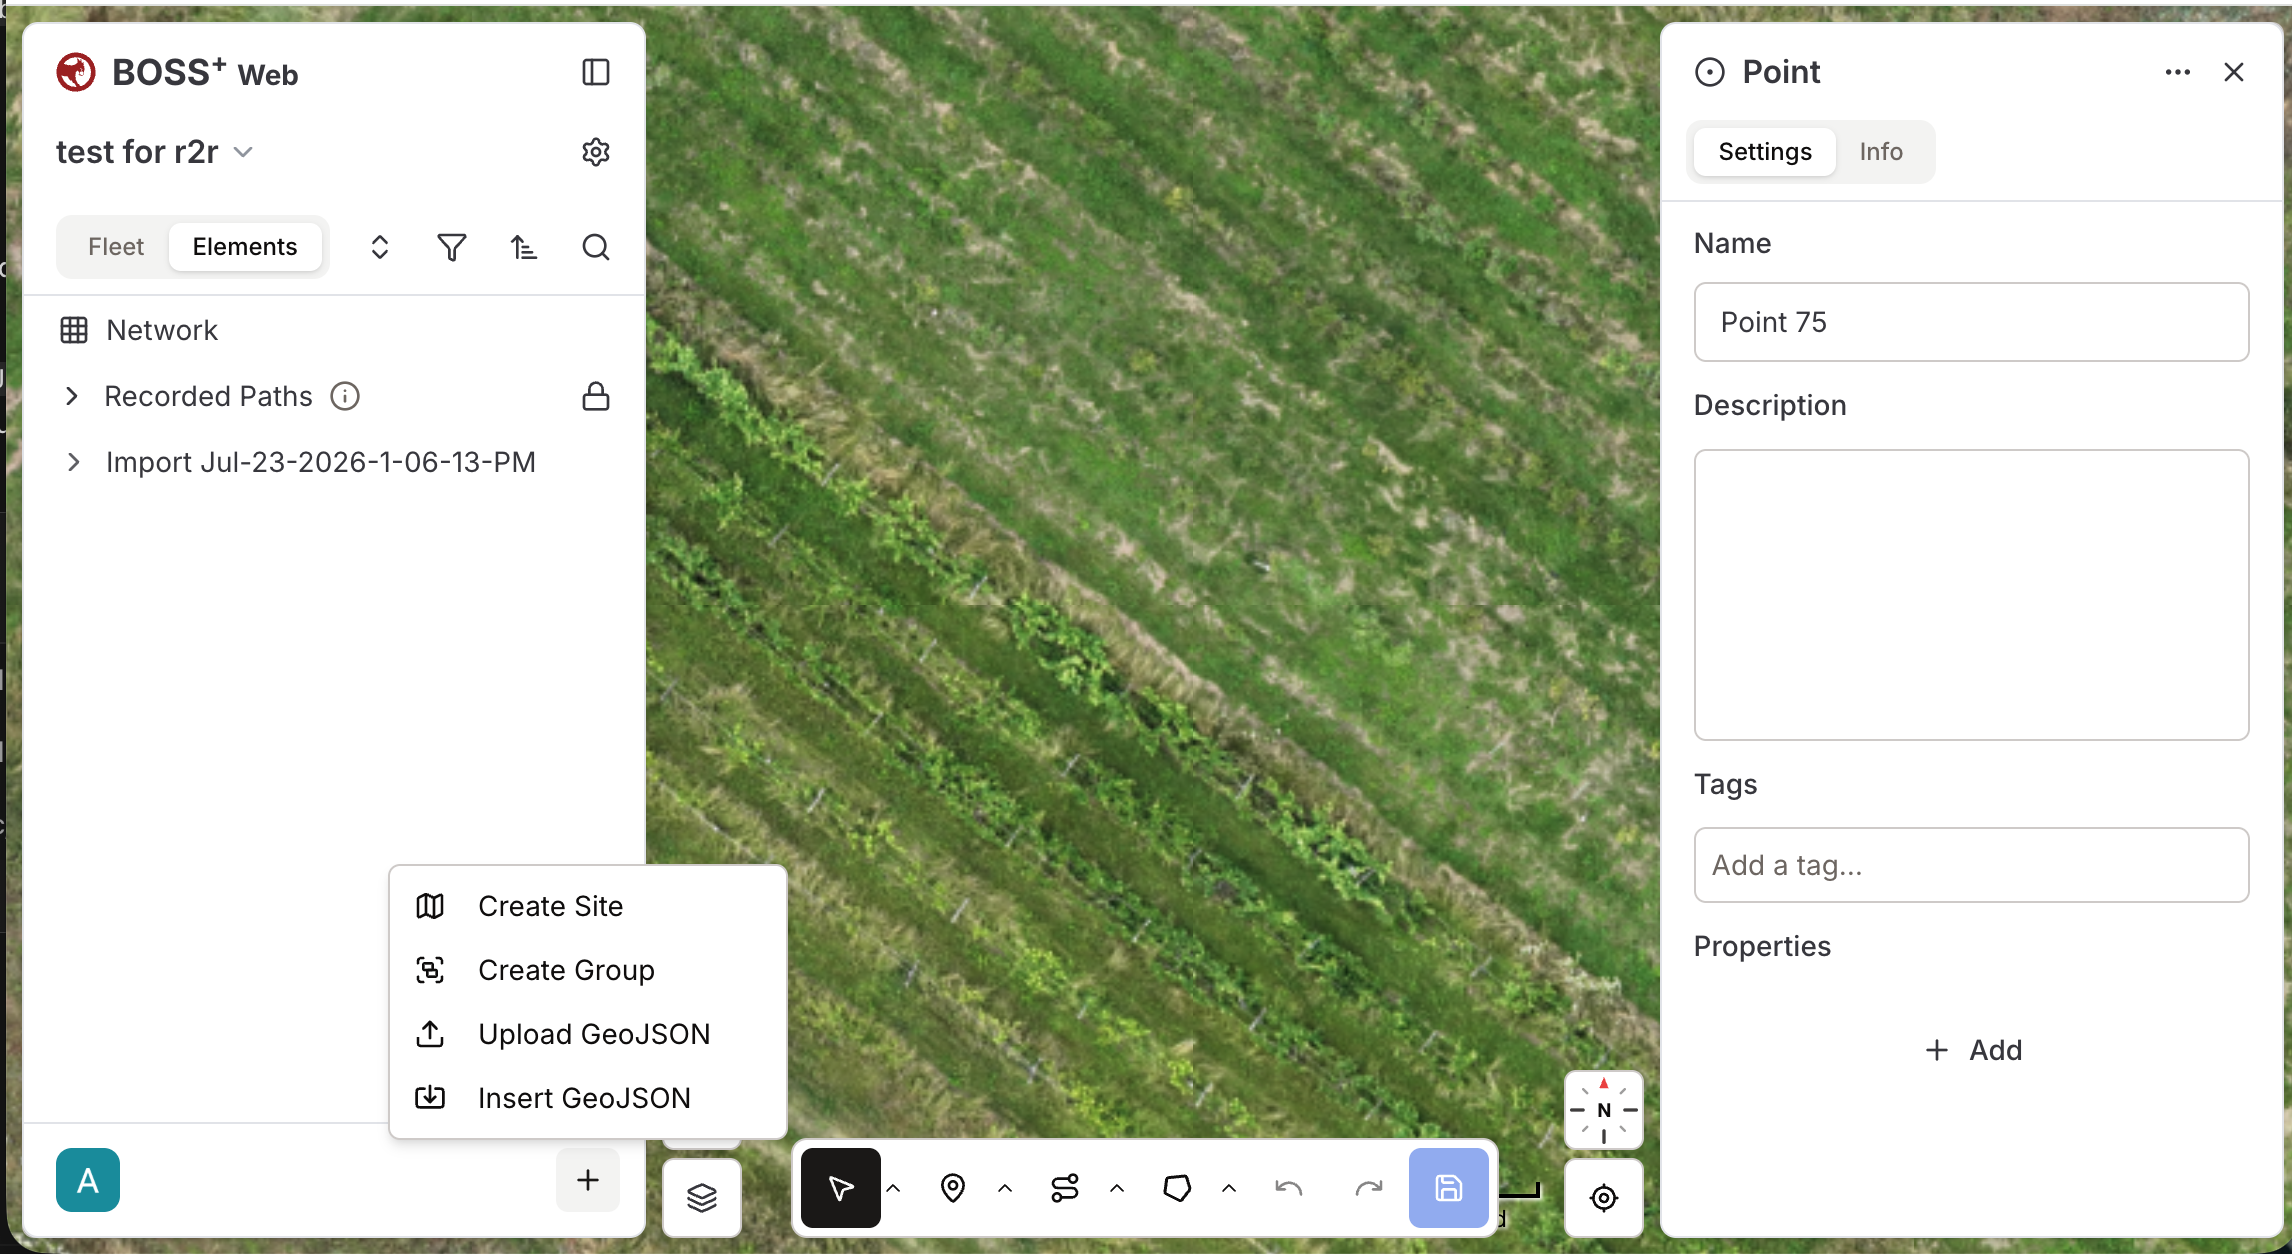
Once the file is downloaded on your computer, you can import to BOSS Web by selecting the + menu at the bottom of the left pane, then “Upload GeoJSON”